(Topic ID: 255737)
Linked Games
 "300"
Gottlieb, 1975
"300"
Gottlieb, 1975-
Atlantis
Gottlieb, 1975
-
Big Deal
Williams, 1977
-
Black Jack EM
Bally, 1977
-
Boomerang
Bally, 1974
-
College Queens
Gottlieb, 1969
-
Duotron
Gottlieb, 1974
-
Flip-A-Card
Gottlieb, 1970
There are more than 8 games linked to this topic.
Click here to show all linked games
Click here to show all linked games
Topic Gallery
 Dearborn, MI
Quoted from wolverinetuner:Working on making this Rancho cabinet presentable. Brasso is my favorite agent for de-griming a cabinet. I’ve never used anything else that works as well with little to no paint loss.[quoted image]
Will have to give that a shot.
 Ramstein-miesenbach
Was missing the u-channel for the backbox door.
If someone has a link to a similar u-channel that would be great instead of cutting a tube down.
I didn't see one online but saw this piece of aluminum tube in our scrap bin at work. It's aluminum and that's a lot easier to work with vs steel but either would work. You can get square tube from Home Depot or Amazon.
IMG_1438 (resized).jpegIMG_1439 (resized).jpegIMG_1442 (resized).jpegIMG_1443 (resized).jpegIMG_1445 (resized).jpegIMG_1446 (resized).jpeg
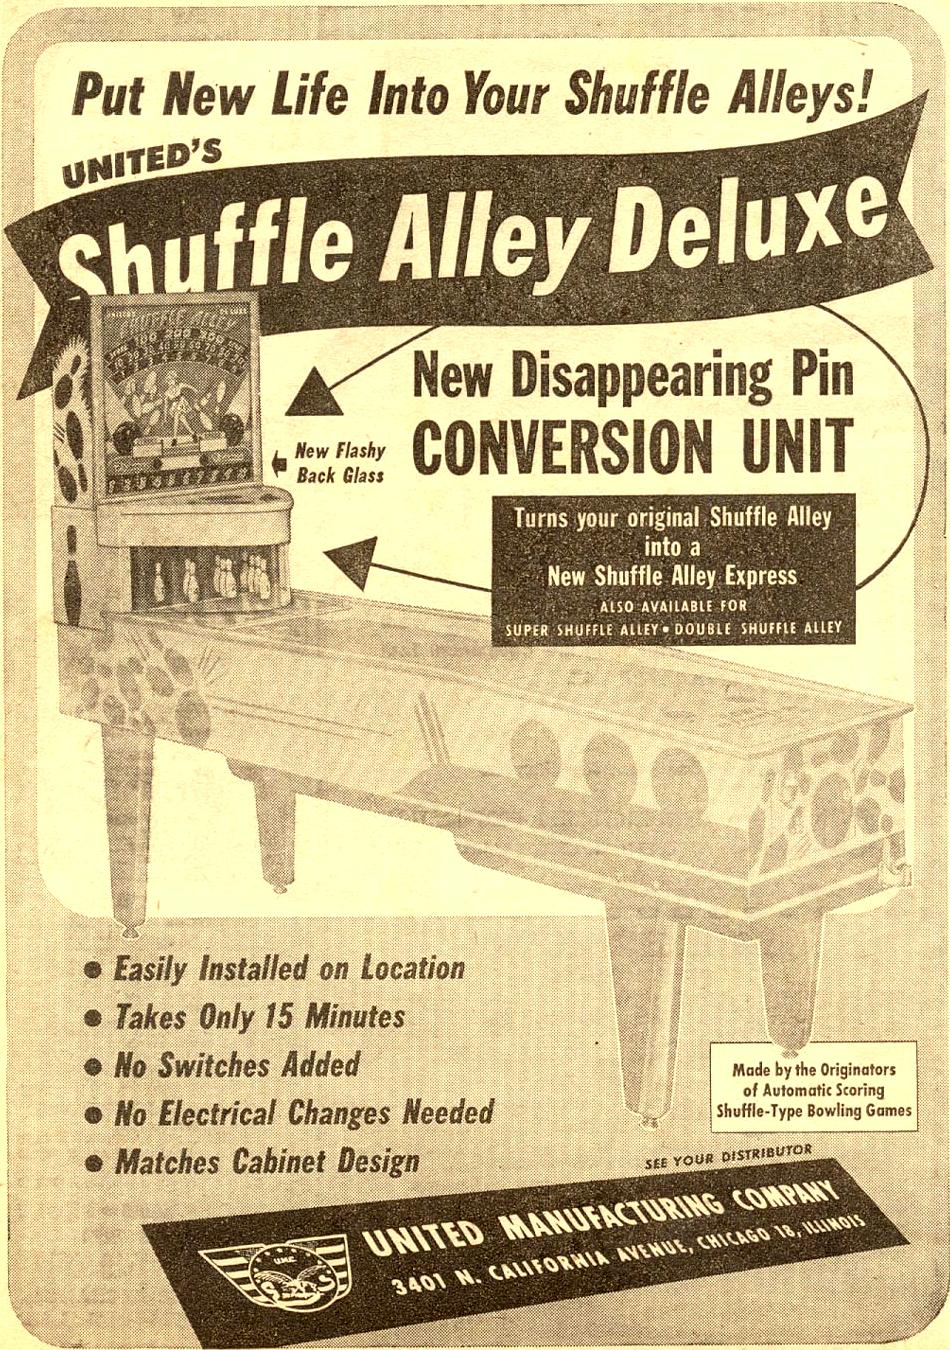
Until now I haven’t had any experience with shuffle alleys. Now within the last month I’ve worked on two. Doesn’t it always seem to go that way? I’m just about done with my 1956 United Handicap shuffle alley project and turns out my brother thought he should join in on the fun and got this 1949 United Shuffle Alley Express. After a few repairs, it’s up and running again. This apparently was the first game with mechanical disappearing pins.
IMG_3767 (resized).jpegQuoted from Gotemwill:my brother thought he should join in on the fun and got this 1949 United Shuffle Alley Express.
Nice! It has to be one of the very 1st shuffles with 6" pins.
I have the 1st shuffle made (it's a single player United) and
has 4" pins. It's actually my 2nd one. I went the through the
1st one and was pretty surprised that it scored regulation.
The puck didn't rebound. It rolled back underneath on end.
Do you know yet if the Express does the same and score regulation?
It’s hard to tell from the picture but those are 4” pins. I couldn’t believe how miniature looking they were at first. I was also surprised to see that it has a strikes and spares unit for regulation scoring. I was under the impression that didn’t come until ‘55 or ‘56. As you mention, the puck is returned to the front of the game via a trough so it feels just like bowling. I wish they would have kept this in later versions. It takes slightly longer and maybe they felt it would be too slow with muti-player. They made a conversion kit to add a pin deck to a Shufle Alley Deluxe to essentially turn it into an Express.
http://www.pinrepair.com/bowl/shufalld.jpg
This game is in very original condition with all of the plexiglass shields still in tact. It appears that it has been local it’s whole life based on the operator tags.
Oh, they're 4" pins. It has to be the very same area as the United's Shuffle Alley which is
known to be the 1st Shuffle produced, and that I've seen with (I believe) lit pins instead
of a pin deck. Both mine had pin decks. The 1st one I had must had been one of the very
1st made. Instead of a coffin top, it had a wooden lane that screwed down. Should had found
a space for it. It was in very nice shape..
Another I have I have stored is a 1950 Gottlieb Bowlette. I believe that also scores regulation.
Yes, it was 1955 when the 1st multi-player shuffle came out that scored regulation..
1 week later
Finally working through my shallow body Team One to Wizard conversion. I’ve gotten through the cabinet and head and main relay boards. Now I need to do the playfield.
I have to give a shout out to EMSINKC for the cabinet repaint and Pinhead52 for the head relay board conversion.
IMG_4502 (resized).jpegIMG_4503 (resized).jpeg 1 week later
Gave Flipper a tuneup for Christmas. Inserts leveled, pf cleaned and waxed, new rubber installed. Special touch was new plastics that I’ve been holding onto for a few years since before the late great Pinball Rescue closed shop. She plays so fast now…wow!
IMG_4225 (resized).jpegIMG_4233 (resized).jpegIMG_4241 (resized).jpegIMG_4240 (resized).jpegQuoted from EJS:In the middle of documenting this fairway. Does anyone have much history on this game? I noticed the backglass count up to 9 million and change but there’s only 8 light sockets for the millions.
[quoted image][quoted image][quoted image]
This is breaking my brain ![]()
Quoted from Spitfiren8:This is breaking my brain
Mechanically speaking 8,590,000 is the highest possible score for this machine. I made a video of my findings.
So they probably wanted it to be higher at one point ( WMS Twenty Grand?) but things fell apart? I don't know much about other games of this era and if they had similar score values? Here's what I gathered. It keeps me scratching my head.
The machine before Fairway was Times Square. The millions I assume are lit building windows and there are easily 10 windows that could become lit if we dismiss the 3 on the extreme edge of the backglass. Starlite before Times Square seems to be distinctively 9. Silver Skates before that also 9. Twenty Grand before that....9. Then Disk Jockey and Four Corners were only 7
The game after Fairway was Palisades and the millions are hidden in a palm tree so good luck figuring that out.
The game after Palisades, Grand Champion, has 9 distinct banners for millions.
THEN came C.O.D (Clothes on Display? Call of Duty?) and that only has 8 million.
Did they keep making these things short a bulb? I assume most of these were built with the same steppers.
After trying for a few months unsuccessfully to find an original foul bar for my 1956 United Handicap shuffle alley, I decided to take matters into my own hands and make one. I was able to get close up photos of an original thanks to @mopar. It’s a pretty simple design overall, but it took a little while to get the proportions right working from a photo. It was also the first time I had worked with sheetmetal that I wasn’t able to cut with snips and bend by hand. The originals seemed to be pretty sturdy so I started with a sheet of 16ga steel. Heating the steel to bend it and then hand forming it with some brass drifts allowed me to get the shape I needed on such a small piece.
I worked up from a piece of graph paper, to some poster board, to a piece of aluminum shim material to show proof of concept.
Overall, I am fairly pleased with how it turned out. Here are some photo comparisons of the original and mine.
P.S. I would still like to find an original foul bar!
Picked up a project Hot Shot and Space Time last week and haven't even set them up yet... I think today will be the day! Can't wait to figure out what's wrong with them and get them fixed plus shopped.
Just finished restoring a1949 Gottlieb Sharpshooter with the old style nickel coin slide that when you push it in, an attached bar pushes the playfield trap ball door open dropping the balls into the trough and the bar also pushes against a bunch of switches that starts the reset. Very cool.
This is also the year when Gottlieb introduced the pop bumper for the first time and there are two on his game with plenty of pop after cleaning up the mechs and polishing the metal rods and rings. The pf and cabinet were in good shape and cleaned up nicely. The coin door was missing most of the paint and needed to be restored.
A lot of the work was inside the game - cleaning up the dirt with grease and sand clogging up the score motor and steppers. Also soldered broken wires and missing contacts on relay switches. Replaced the missing bell on 10K stepper.
For a simpler game it’s a lot of fun to play with strong pop bumpers and flippers. The strategy is to Hit all 9 bumpers and then it resets for another go at hitting and resetting them. Replays are awarded for points and also advancing "Rounds" by nudging the ball over right and left rollovers. At game start the advance unit pop pop pops several times mimicking the sounds of a shooting gallery.
B Before cabinet (resized).jpgB Before motor board (resized).jpgB coin door missing paint (resized).jpgBefore Flipper rod actuators (resized).jpgBack of slide (resized).jpgdirty score motor (resized).jpgC new bell installed (resized).jpgC New bell (resized).jpgC refinishing head frame (resized).jpgC cleaned up cabinet (resized).jpgunderside sharpshooter clean (resized).jpegInside cabinet after (resized).jpegC clean pf (resized).jpgclean pinball game (resized).jpegSharpshooter final (resized).jpgSharpshooter lit (resized).jpeg 2 weeks later
 Bulli
Bulli
Quoted from illawarra92:hand drawing stencils using scales. started 42 years ago as a survey draftsman back when it was all hand drawn.
[quoted image][quoted image]
Leroy Lettering days
 Linton
Williams Lady Luck restoration.
I got this one in last summer to do, in between other work. It had lots and lots of issues but the last Biggie was done today so should be plain sailing now. Everything has been done, cabinet, playfield and an overhaul on the mechanics and a new backglass to finish it off. The playfield was air-brushed and all the lettering and card shapes, etc were cut on my Cameo, in vinyl and the whole playfield was clear coated to seal it and then was rebuilt with new plastics, pop bumper assys, lamp sockets, etc. A lot of work but it lives to fight on for a good few years.
IMG_20230615_155946707 (resized).jpgIMG_20230615_160106087 (resized).jpgIMG_20230615_160219234 (resized).jpgIMG_20230912_131838449 (resized).jpgIMG_20230912_131848497 (resized).jpgIMG_20230912_131825704 (resized).jpgIMG_20231009_132115437_HDR (resized).jpgIMG_20231017_152558714 (resized).jpgIMG_20231017_152539529 (resized).jpgIMG_20231017_154043297 (resized).jpgIMG_20231213_144218965 (resized).jpgIMG_20231213_144250710 (resized).jpgIMG_20230726_113316589 (resized).jpgIMG_20230718_182152557 (resized).jpgIMG_20230828_161454269 (resized).jpgIMG_20230729_165058281~2 (resized).jpgIMG_20230720_140536487 (resized).jpgIMG_20231213_144422198 (resized).jpgIMG_20231213_144404299 (resized).jpgIMG_20231213_144441452 (resized).jpgIMG_20240119_152725858 (resized).jpgIMG_20231213_144532809 (resized).jpgIMG_20231213_144454165 (resized).jpg
outstanding work!
regarding the more detailed work like the women’s faces, how did you replicate those?
Thanks.
Vintage-Pinball When you are airbrushing the playfield colors and masking things off, how do you keep the masking tape from tearing off the new paint you've already sprayed on the playfield for other colors?
Quoted from DanMarino:Vintage-Pinball When you are airbrushing the playfield colors and masking things off, how do you keep the masking tape from tearing off the new paint you've already sprayed on the playfield for other colors?
I lacquer the colours at each stage before applying the next layer. Time consuming but no tears .
Quoted from Vintage-Pinball:I lacquer the colours at each stage before applying the next layer. Time consuming but no tears .
Lacquer from a spray can?
Quoted from DanMarino:Lacquer from a spray can?
what I’ve done in the past and I believe I got the idea on here from Vid’s guide, is to cure the paint with a heat gun after application. takes just a few seconds.
I was using Createx Auto-Air paints via airbrush on a Bally Express playfield and the method worked great.
Quoted from DanMarino:Lacquer from a spray can?
No, 2 pack via a spray gun and air dried.
Quoted from beadwindow:what I’ve done in the past and I believe I got the idea on here from Vid’s guide, is to cure the paint with a heat gun after application. takes just a few seconds.
I was using Createx Auto-Air paints via airbrush on a Bally Express playfield and the method worked great.
I used Createx too. An expensive product but I guess you get what you pay for. I was a bit nervous in using the Frisket paper to cut the blue white and yellow areas as there's no black break line to fall back on but it was fine. The blue break lines around the white areas were cut from vinyl. I've used water-slide decals more in the past but they can be problematic whereas vinyl is more forgiving. It's not perfect but I'm happy enough with it considering how worn it was and it now lives to play another day.
Quoted from hazmat7719:Several, but the main one is a 1966 Williams #8 Ball.[quoted image]
So much better as a 2 player... Norm Clark's split bank kicks ass once again.
Quoted from Vintage-Pinball:I used Createx too. An expensive product but I guess you get what you pay for. I was a bit nervous in using the Frisket paper to cut the blue white and yellow areas as there's no black break line to fall back on but it was fine. The blue break lines around the white areas were cut from vinyl. I've used water-slide decals more in the past but they can be problematic whereas vinyl is more forgiving. It's not perfect but I'm happy enough with it considering how worn it was and it now lives to play another day.
createx may be pricey but it’s just about free when compared to the time and effort that goes into this kind of work.
why did you choose to go the 2 part clear route as opposed to heat curing? seems like significantly more hassle.
Quoted from beadwindow:createx may be pricey but it’s just about free when compared to the time and effort that goes into this kind of work.
why did you choose to go the 2 part clear route as opposed to heat curing? seems like significantly more hassle.
I've never tried it to be honest. Two pack lacquer with a fast hardener works well for me. But I'll try your method next time I'm doing a playfield to see how it performs ![]()
Quoted from bonzo71:Work in progress on a fairly obscure game..
[quoted image]
Obscure, maybe, but gorgeous and very cool to play!
Quoted from bonzo71:Work in progress on a fairly obscure game..
[quoted image]
Very nice! Layout looks like a cousin to Magic Circle.
Bally Night Rider. Game occasionally would exit play and go to game over. Narrowed down the problem to middle pop bumper activation. I inspected the contacts and wiring associated with the bumper to make sure there was no inadvertent contact. Looked okay. The bumpers run through a bridge rectifier with a diode across the bumpers. All other DC component’s operated normally so I replaced the diode with one from the bone yard. Nope. I finally figured out I needed a closer look at the switches, so I took them apart and that is where I found the problem. The bottom switch associated with the bumper spoon was shorting out nicely against the scoring switch below it due to a short fish paper insulator. Installed a longer piece of fish paper. Problem solved.
Also, I used 2 different amperage circuit breakers on this search. These are worth every penny they cost in unblown fuses. These came with spade connectors which I use with long leads and insulated alligator connectors so I can have the breaker next to where I am working and see when it pops.
IMG_3174 (resized).jpegIMG_3171 (resized).jpegIMG_3176 (resized).jpeg
Promoted items from Pinside Marketplace and Pinside Shops!
Reply
Wanna join the discussion? Please sign in to reply to this topic.

Hey there! Welcome to Pinside!
Donate to PinsideGreat to see you're enjoying Pinside! Did you know Pinside is able to run without any 3rd-party banners or ads, thanks to the support from our visitors? Please consider a donation to Pinside and get anext to your username to show for it! Or better yet, subscribe to Pinside+!
