(Topic ID: 63352)
Linked Games
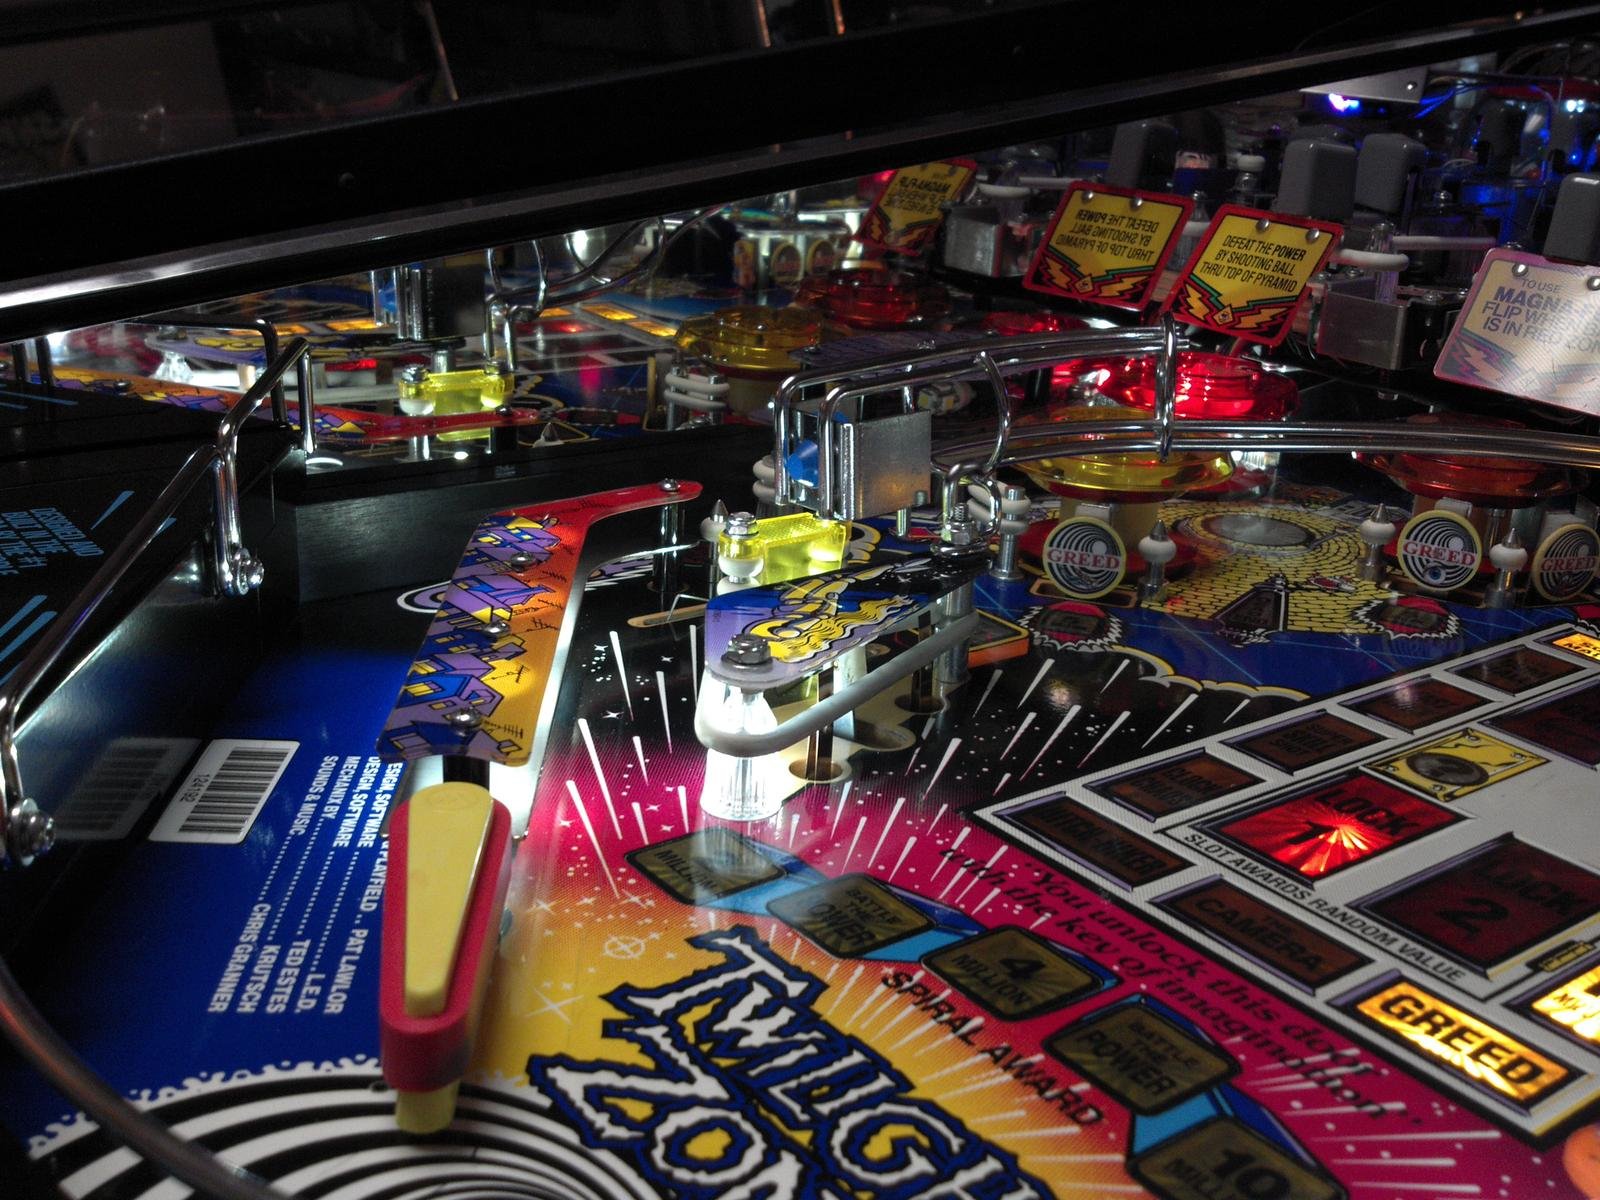
 Twilight Zone
Bally, 1993
Twilight Zone
Bally, 1993
Topic Gallery
Quoted from lyonsden:That spring is used to adjust the level of the power playfield. It was added to to the game when it moved to full production. Tighten more or less and it will change the level of the power playfield.
Thank you, I didn't know it was to change the difficulty level..do you have any idea of its part number? It is missing on my pin and I would like to buy a replacement.. thanks !
 Lake Havasu City, AZ
Quoted from amxfc3s:Any suggestions for dealing with these lifted inserts? Heat them, pound them down then glue? Anything I can do to help prevent the top from cracking/wearing more? Hesitant about putting mylar over it.
I'm in the same boat on mine. Not chipping at all yet, but i can see the ball is hitting raised inserts. I am thinking mylar also, but also maybe that playfield protector? I don't want to use the protector though if its going to change the way the ball moves and the game plays. My playfield s way to nice to do a swap.
Quoted from Pesmerga:Thank you, I didn't know it was to change the difficulty level..do you have any idea of its part number? It is missing on my pin and I would like to buy a replacement.. thanks !
Not difficulty level, just _level_, from side to side. If the playfield isn't level, the ball can get stuck in the (low) corner.
Quoted from lyonsden:That spring is used to adjust the level of the power playfield. It was added to to the game when it moved to full production. Tighten more or less and it will change the level of the power playfield.
I think he is looking for a part number, not operation instructions.
#10-453
Quoted from Tranquilize:I think he is looking for a part number, not operation instructions.
#10-453
https://www.marcospecialties.com/pinball-parts/10-453
Yes -- I misread his first post. Thanks for finding the part for him.
Quoted from Pesmerga:Thank you, I didn't know it was to change the difficulty level..do you have any idea of its part number? It is missing on my pin and I would like to buy a replacement.. thanks !
Just as additional information, it was not installed on sample and prototype games (pre-production games) and was a later addition when the games went into full production. I have a sample TZ (documented in this thread: https://pinside.com/pinball/forum/topic/sample-tz) -- check out yours and see if your game is as well or if it was just missing the spring.
 Bath
Bath
Quoted from Tranquilize:I think he is looking for a part number, not operation instructions.
#10-453
https://www.marcospecialties.com/pinball-parts/10-453
Thank you very much to all of you ![]() now it is clear.. in my pin is missing because it was parted out, sold as is and I have many parts missing! Also I have parts that I still don't know where to put :S
now it is clear.. in my pin is missing because it was parted out, sold as is and I have many parts missing! Also I have parts that I still don't know where to put :S
Quoted from Pesmerga:Thank you very much to all of you now it is clear.. in my pin is missing because it was parted out, sold as is and I have many parts missing! Also I have parts that I still don't know where to put :S
Post a pic or two of anything you can’t id. If it’s a part of TZ I’m sure we can identify it.
 Brisbane
Quoted from allsportdvd:I’m looking to install post Leds under all 6 posts on the upper Playfield but don’t sure if there are any GI lamp sockets to attach them to. Can anyone tell me if the light under the eyeball is GI as I think the score inserts flash
Thanks in advance
I don't think there is any GI under the power playfield. The closest Gi may be in the lamp that shines down on the entrance of it. I posted an image of the bottom side. The eye is a flasher, the others are controlled lamps.
Has anyone ever replaced the ball gate flaps on the shooter and auto-plunger lane?
I can't seem to work out how you remove the steel pin & have already broken it at the end ![]()
https://www.marcospecialties.com/pinball-parts/A-16965
I think mine was wrong from the factory! The auto-plunge lane being the wrong type.
IMG_2332 (resized).JPGIMG_2333 (resized).JPGIMG_2334 (resized).JPGIMG_2335 (resized).JPGIMG_2336 (resized).JPGIMG_2337 (resized).JPGQuoted from lyonsden:I don't think there is any GI under the power playfield. The closest Gi may be in the lamp that shines down on the entrance of it. I posted an image of the bottom side. The eye is a flasher, the others are controlled lamps.
[quoted image]
I have seen some pics on this thread of post Leds in the upper Playfield. Anyone have any advice?
I also have a question as to which rubbers fit here
I bought a kit from Titan but none seem to match this spot
BC5236B1-FEA0-4A1F-B402-0280B22582FD (resized).jpegQuoted from allsportdvd:I have seen some pics on this thread of post Leds in the upper Playfield. Anyone have any advice?
I also have a question as to which rubbers fit here
I bought a kit from Titan but none seem to match this spot[quoted image]
https://images.pinside.com/b/ac/bacc98084c034124bccc3d732862541bd719c012/resized/large/bacc98084c034124bccc3d732862541bd719c012.jpg
Not sure the link will work. It gets a plastic and some small rubbers.
Quoted from allsportdvd:I have seen some pics on this thread of post Leds in the upper Playfield. Anyone have any advice?
I also have a question as to which rubbers fit here
I bought a kit from Titan but none seem to match this spot[quoted image]
There should be 4 rubbers there - 2 on each post of 7/16" od. Same as on the post to the left of it. There should also be a plastic lane guide.
Is this what you mean by post leds on upper playfield? I lit all my star posts using Comet matrix stuff. It all connects using connectors so no soldering. I also used a dimmer since lights were very bright. It wasn't that hard to do but had it's challenges. I also lit the two signs using light strips and custom brackets.
20180128_215532 (resized).jpgQuoted from jawjaw:There should be 4 rubbers there - 2 on each post of 7/16" od. Same as on the post to the left of it. There should also be a plastic lane guide.
Is this what you mean by post leds on upper playfield? I lit all my star posts using Comet matrix stuff. It all connects using connectors so no soldering. I also used a dimmer since lights were very bright. It wasn't that hard to do but had it's challenges. I also lit the two signs using light strips and custom brackets.
[quoted image]
Yes, that Comet Matrix sounds perfect! Sounds much better than me trying to solder a bunch of lights up there, however still mentions hooking up to a GI socket but there isn’t one under the upper Playfield. What did you do?
Quoted from allsportdvd:Yes, that Comet Matrix sounds perfect! Sounds much better than me trying to solder a bunch of lights up there, however still mentions hooking up to a GI socket but there isn’t one under the upper Playfield. What did you do?
There’s GI to the lamp, could you use that?
Quoted from allsportdvd:Yes, that Comet Matrix sounds perfect! Sounds much better than me trying to solder a bunch of lights up there, however still mentions hooking up to a GI socket but there isn’t one under the upper Playfield. What did you do?
I used a bulb splitter in the payfield gi that was out of view in the rear. I then ran an extension cable from that down under playfield and back up to the mini playfield that could easily be disconnected. Splitters and short extensions used under mini pf. I used other bulb splitters for other added lights around pf so not to overload one circuit. I tried to plan things out on paper but recommend just buying a bunch of extensions in different lengths and splitters.
Comet sells lighter star posts as a kit but I never tried them. I just bought their post lights and sourced star posts from somewhere else. The problem I had was the post light led never fit under the star posts. They were always too wide. I had to use an exacto knife and remove material from the inside of each star post to get a clean fit.
https://www.cometpinball.com/MATRIX-1-SMD-5050-FLEX-6-3V-QUICK-CONNECT-p/mtx1smdflex.htm
https://www.cometpinball.com/MATRIX-Wires-p/mtxconnect.htm
https://www.cometpinball.com/MATRIX-2-and-3-Splitters-p/mtxsplit.htm
https://www.cometpinball.com/product-p/mtxbriteadj.htm
https://www.cometpinball.com/4-SMD-6-3V-LIGHTED-POST-LIGHT-p/mtxpost.htm
Quoted from monkeyboypaul:Has anyone ever replaced the ball gate flaps on the shooter and auto-plunger lane?
I can't seem to work out how you remove the steel pin & have already broken it at the end
https://www.marcospecialties.com/pinball-parts/A-16965
I think mine was wrong from the factory! The auto-plunge lane being the wrong type.
[quoted image][quoted image][quoted image][quoted image][quoted image][quoted image]
ends must be pinched to round them out.. or cutoff. It's not a in/out part... designed to be permanent. Usually you can squeeze them enough to get them back through, and then flatten again to reinstall. Or get new wire, and make replacements.
 Saskatoon, SK
Is there anything to look for on the skill-shot scoop that might make a person want to replace it? Say, if my welds are undamaged, there’s no reason to upgrade it, is there?
Reason being, I’m going to do an order from Mantis and figured if this is something to look into I might as well add it and only pay shipping once.
I can’t see that this scoop would take much damage generally, so figured I’d check if this is something preventative to get, or only needed if the original is trashed.
Quoted from DW3000:Is there anything to look for on the skill-shot scoop that might make a person want to replace it? Say, if my welds are undamaged, there’s no reason to upgrade it, is there?
Reason being, I’m going to do an order from Mantis and figured if this is something to look into I might as well add it and only pay shipping once.
I can’t see that this scoop would take much damage generally, so figured I’d check if this is something preventative to get, or only needed if the original is trashed.
Never hurts to have spare parts but I wouldn't replace it if functioning properly and looks good.
Quoted from jawjaw:Never hurts to have spare parts but I wouldn't replace it if functioning properly and looks good.
Yeah that’s kinda what I was figuring. I’m looking to start on a full restoration in the near future so it’s parts-buying time. And shipping to Canada is way too expensive, so you kinda want to get everything ordered right the first time. ![]()
Just wanted to make sure there wasn’t some weak point on that scoop that I’d totally missed hearing about.
Quoted from flynnibus:ends must be pinched to round them out.. or cutoff. It's not a in/out part... designed to be permanent. Usually you can squeeze them enough to get them back through, and then flatten again to reinstall. Or get new wire, and make replacements.
thought as much... thanks.
Managed to find a complete spare, which i'll whack in the tumbler for a few hours before fitting....
Quoted from DW3000:Is there anything to look for on the skill-shot scoop that might make a person want to replace it? Say, if my welds are undamaged, there’s no reason to upgrade it, is there?
Reason being, I’m going to do an order from Mantis and figured if this is something to look into I might as well add it and only pay shipping once.
I can’t see that this scoop would take much damage generally, so figured I’d check if this is something preventative to get, or only needed if the original is trashed.
Scoop fails where the sides are welded to the curved overhead piece. The Mantis scoop is stronger and re-enforced. In home use, it's not as likely an unbroken scoop will fail.. so the upgrade isn't necessary, but would simply be for piece of mind.
That scoop doesn't take nearly the abuse the slot machine does.
Quoted from DW3000:Is there anything to look for on the skill-shot scoop that might make a person want to replace it? Say, if my welds are undamaged, there’s no reason to upgrade it, is there?
Reason being, I’m going to do an order from Mantis and figured if this is something to look into I might as well add it and only pay shipping once.
I can’t see that this scoop would take much damage generally, so figured I’d check if this is something preventative to get, or only needed if the original is trashed.
skill shot? that one does not break, slot machine is problematic. Mantis has a replacement for that one. is that what your talking about? Swap it if its broken. If its not, no reason to swap it. In home use you probably won't play enough to break it.
Quoted from Marvin:skill shot? that one does not break, slot machine is problematic. Mantis has a replacement for that one. is that what your talking about? Swap it if its broken. If its not, no reason to swap it. In home use you probably won't play enough to break it.
Nope, definitely was asking about the skill shot - Mantis makes both. That’s kinda what had me guessing, I know the damage the slot can take so I understand a stronger slot scoop, I just wondered if I’d missed some sort of common knowledge about the other one failing in some way too.
The fact that a replacement is available at all mostly had me wondering if my skill scoop had its days numbered, even though it’s currently fine.
I’ll take it off and give it an inspection, but looks like I’m probably fine not ordering this. I honestly can’t see how a person *could* break that scoop.
Quoted from DW3000:I honestly can’t see how a person *could* break that scoop.
no idea, its not even a strong spring on the shooter rod in that game. I'm guessing he has it for the many who are will to buy anything even if its not needed.
Quoted from DW3000:Nope, definitely was asking about the skill shot - Mantis makes both. That’s kinda what had me guessing, I know the damage the slot can take so I understand a stronger slot scoop, I just wondered if I’d missed some sort of common knowledge about the other one failing in some way too.
The fact that a replacement is available at all mostly had me wondering if my skill scoop had its days numbered, even though it’s currently fine.
I’ll take it off and give it an inspection, but looks like I’m probably fine not ordering this. I honestly can’t see how a person *could* break that scoop.
I think in this case, Mantis just produced a whole bunch of TZ-related metal items, and decided to improve this scoop since he had already done the slot machine one. I've bought a ton of stuff from Mantis, everything I've received has been AWESOME.
Quoted from Antennaejim:Joined the club today I’m excited!! Love this game.
Welcome! This is the most played game I have owned by a good margin.
Quoted from Madmax541:My TZ rocket launcher causes the ball to hit wire rail.
Is there washers or something to tilt launcher eliminating air balls?
You can adjust the guide under the rocket plastic to aim the ball at the hitchhiker shot. It is adjustable and sometimes gets knocked out of alignment.
Quoted from Neal_W:You can adjust the guide under the rocket plastic to aim the ball at the hitchhiker shot. It is adjustable and sometimes gets knocked out of alignment.
That for horizontal alignment.
Is there anything like a washer for vertical "air balls"
Quoted from Squeakman:Madmax541 do you have one of those playfield protectors on your game? If so how is the gameplay with it and how did it fit? I am considering getting one for mine when I tear it down for cleaning soon.
Just put it in, and dialing in game.
This TZ is new to me, it replaced my players condition TZ that was really dial in.
I am just not there yet with this one, still working on it.
Most people I have talk w like them
Quoted from Antennaejim:Does anyone have a spare plastic like this that they could part with? Please pm me mine is toast. Thank you!!!
[quoted image]
Quoted from merccat:Post a pic or two of anything you can’t id. If it’s a part of TZ I’m sure we can identify it.
Ok thanks!
Anyone recognize where these parts go??
20181202_205638 (resized).jpg20181202_205633 (resized).jpg20181202_205635 (resized).jpg20181202_205648 (resized).jpgQuoted from monkeyboypaul:The longer post is harder to say without a scale. Is it perfectly round? What's at the top?
Initially i thought the shooter lane diverter shaft, but not sure now...
[quoted image]
I'll try to post the measurement, meanwhile I can say that it is a female-male normal long post, perfectly round! There is something like this under some ramp or plastic??
Quoted from Pesmerga:I'll try to post the measurement, meanwhile I can say that it is a female-male normal long post, perfectly round! There is something like this under some ramp or plastic??
Right side plastic ramp, it’s a support
Promoted items from Pinside Marketplace and Pinside Shops!
Reply
Wanna join the discussion? Please sign in to reply to this topic.

Hey there! Welcome to Pinside!
Donate to PinsideGreat to see you're enjoying Pinside! Did you know Pinside is able to run without any 3rd-party banners or ads, thanks to the support from our visitors? Please consider a donation to Pinside and get anext to your username to show for it! Or better yet, subscribe to Pinside+!
