

UPDATE: The chrome cap decals will be back in production. I sold the business to my friend. The new store will be up soon.
NEW STORE: www.metal-mods.com
I am no longer associated with this product, however my friend Jason will do an excellent job.
You can contact Jason for requests while he gets his store front set up.
Please email him at [email protected]
******************BELOW IS BEFORE THE STORE CLOSED******************
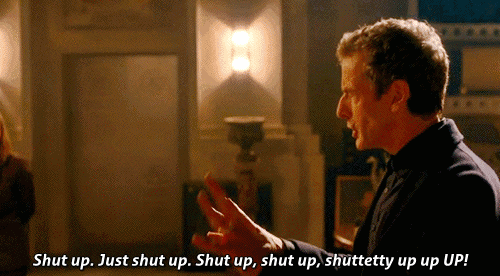
(+) FINISHED PRODUCT
(+) STEP 1 - peal off the decal
(+) STEP 2 - Get some windex
(+) STEP 3 - Mist the back side of the decal. The more windex, the longer you can slide your decal
(+) STEP 4 - Apply the decals, you can slide it around till it lines up. Make sure the decal is free of bubbles.
(+) STEP 5 - Grab the out ring. I would recommend not spraying, or misting extremely light. This part you want the decal to stick quickly. If it is too wet, you will have a hard time getting the decal to make the corner. If you put too much on anyway, no worry just blow on it and it will evaporate fast.
(+) STEP 6 - Apply one end first. "The spot facing the player"
(+) STEP 7 - With (2) thumbs smooth down the decal working your way around evenly.
(+) STEP 8 - Work both sides to a point
(+) The reason you have extra decal is because the cap is not flat. It is a curved surface. We work it to a point so we can compensate for the curve. Otherwise you will have kinks and an uneven decal. Don't be alarmed, when done correctly you will "NOT" see the seam. However, to make it even more invisible you point the seam away from the player. AKA back, or side near the ramps. Again, You will not see this seam in game "with" or "without" the game on.
(+) STEP 9 - Cut the decal as clean as you can
(+) STEP 10 - with a finger catch one end and let the other end fall. Adjust the end already down and lower the other flap to line up with its edge. "Center part is still wet and not aligned, later I slide this back to align it before it drys"
(+) STEP 11 - Smooth out the decal, free of bubbles. Wait for it to dry "till it no longer slides"
(+) STEP 12 - When dry, spray with windex
(+) STEP 13 - wipe and buff till it shines free from gunk or finger prints. "Use a soft cloth, not paper towel"
(+) STEP 14 - Make it shine!
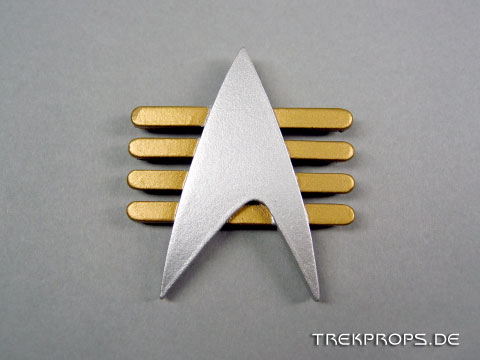
--------------------Star Trek The Next Generation -------------------
If you have chrome cannons, chrome works great.
-------------------- Williams Logo -------------------------------
 Black Knight 2000Black Knight 2000Black Knight 2000
Indiana Jones - Brotherhood of the Cruciform Sword
// Error: Image 265504 not found //
500x500.jpg

 South Haven, MI

