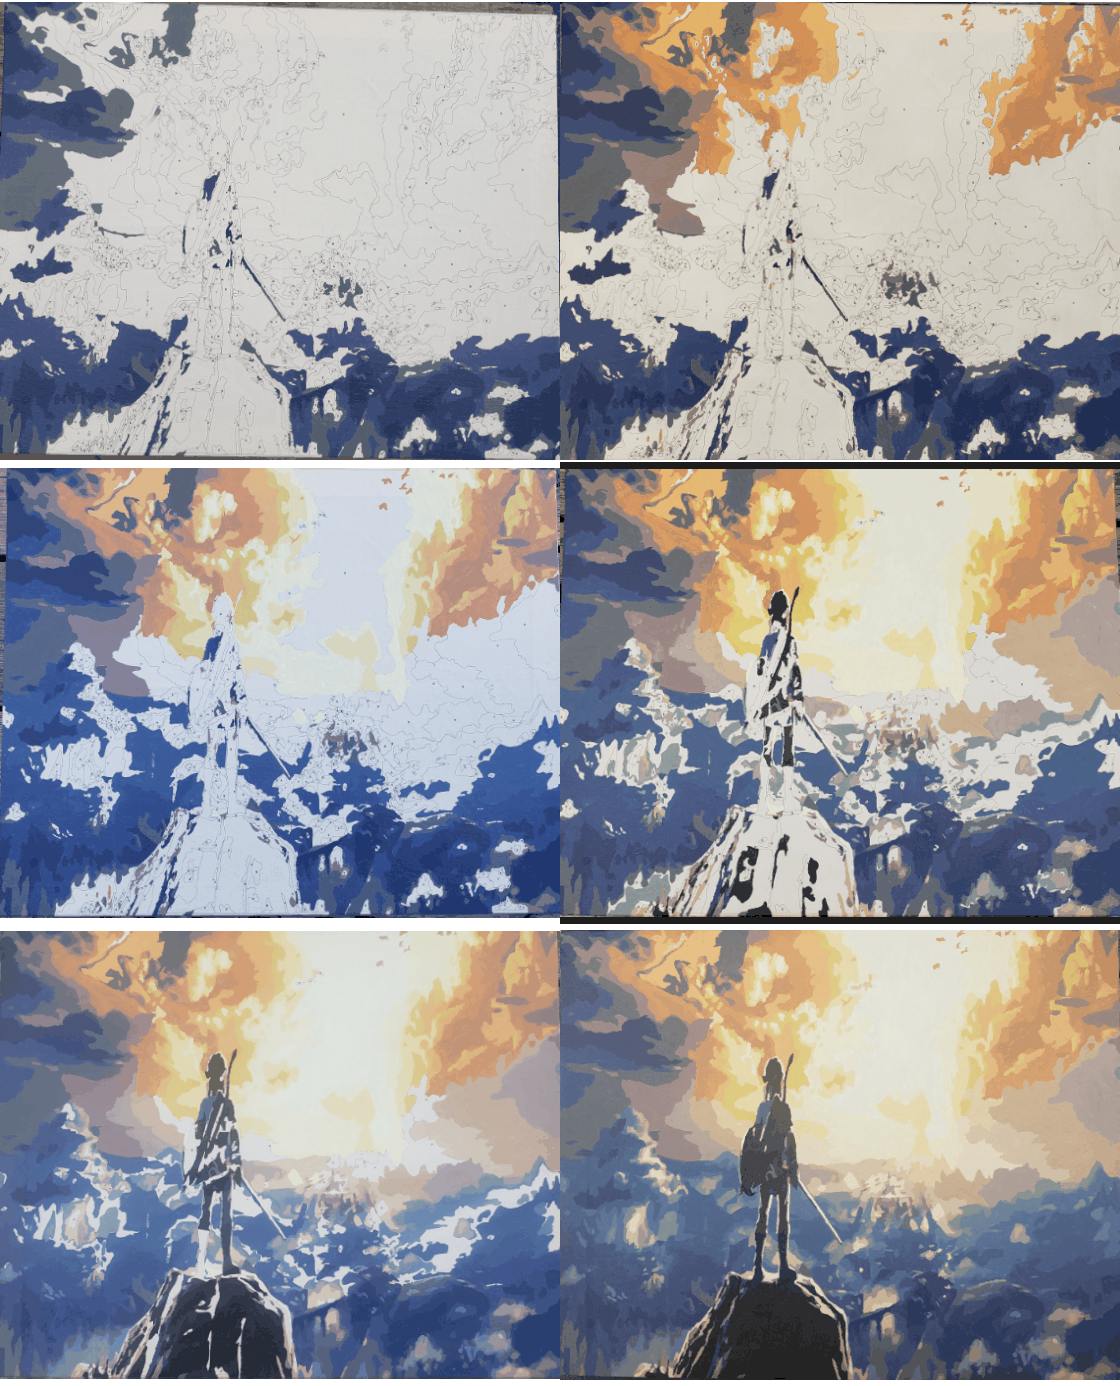
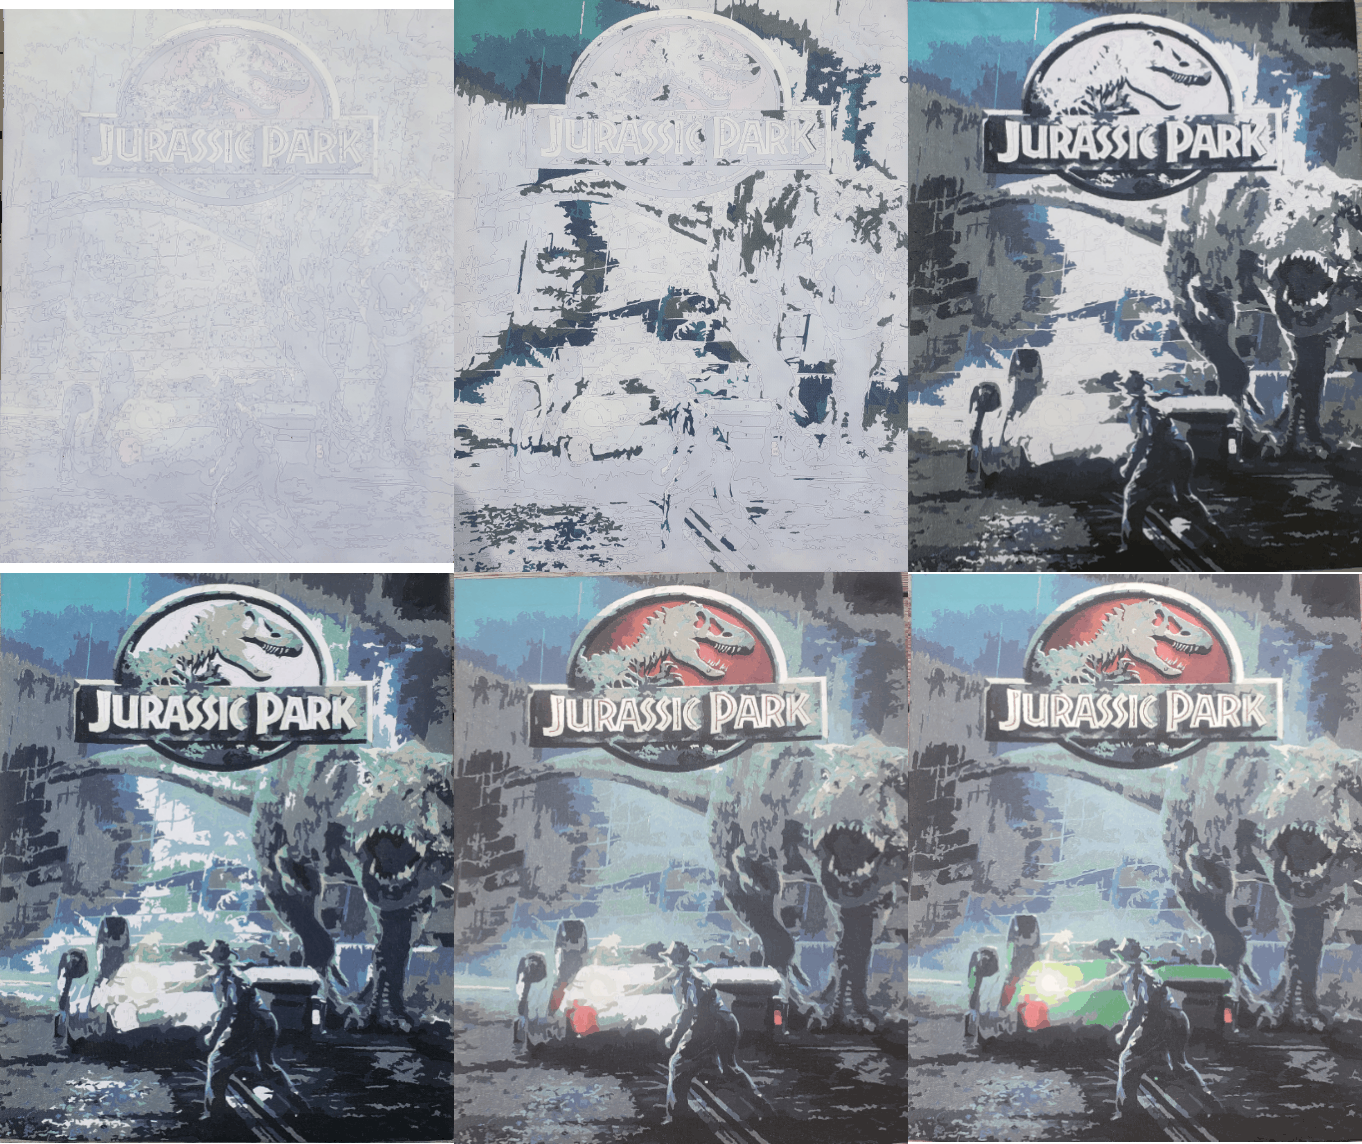
I like to paint occasionally. Sometimes it’s crafts from michael’s or the dollar store, sometimes models and even a couple paint by numbers. I’m far from talented, so having something to paint with the details there already is important. Here’s two of the paint by numbers that I made into GIF’s.  2710.gif
 5168.gif
*************************
**** BUILDERS BEWARE ****
*************************
Page 8. Step 4. Affixing an LED strip to a wooden piece in the backbox.
Strips of 2-sided tape are used. (Part P56 shown in photo above the instructions.)
DON'T COUNT ON THAT TAPE BEING ENOUGH. The LED strip started coming loose the next day or sooner. A couple wooden "loops" keep it from falling *completely,* but still not good.
I suggest a couple touches of hot glue or *something* to hold it better.
Fortunately, I was able to get a bit of hot glue into the narrow area after completing assembly of the module.
FYI: The red translucent sheets used on the sides and front of the model are held by the same 2-sided tape. I used a bit of scotch tape at their edges for good measure.
Quoted from scottslash:*************************
**** BUILDERS BEWARE ****
*************************
Page 8. Step 4. Affixing an LED strip to a wooden piece in the backbox.
Strips of 2-sided tape are used. (Part P56 shown in photo above the instructions.)
DON'T COUNT ON THAT TAPE BEING ENOUGH. The LED strip started coming loose the next day or sooner. A couple wooden "loops" keep it from falling *completely,* but still not good.
I suggest a couple touches of hot glue or *something* to hold it better.
Fortunately, I was able to get a bit of hot glue into the narrow area after completing assembly of the module.
FYI: The red translucent sheets used on the sides and front of the model are held by the same 2-sided tape. I used a bit of scotch tape at their edges for good measure.[quoted image]
Good to know thank you. Also can’t tell if this was just the led strips or the batteries but I bought the tea cups set from rokr and the led strips get really dim after a week I am going to try replacing the batteries and I hope that fixes it but if not I will let you guys know and maybe there will be a way to get better led strips
Quoted from scottslash:*************************
**** BUILDERS BEWARE ****
*************************
Page 8. Step 4. Affixing an LED strip to a wooden piece in the backbox.
Strips of 2-sided tape are used. (Part P56 shown in photo above the instructions.)
DON'T COUNT ON THAT TAPE BEING ENOUGH. The LED strip started coming loose the next day or sooner. A couple wooden "loops" keep it from falling *completely,* but still not good.
I suggest a couple touches of hot glue or *something* to hold it better.
Fortunately, I was able to get a bit of hot glue into the narrow area after completing assembly of the module.
FYI: The red translucent sheets used on the sides and front of the model are held by the same 2-sided tape. I used a bit of scotch tape at their edges for good measure.[quoted image]
This should be a key post!
Quoted from scottslash:Finished a couple more modules. Playfield work starts tomorrow!
[quoted image][quoted image]
Looking good. Any pieces broken so far?
Quoted from monke0430:Looking good. Any pieces broken so far?
Nope. All good. You’ve built these things… So you know… The trickiest part is making sure you don’t put pressure in the wrong place at the wrong time when fitting pieces together!
Quoted from scottslash:Nope. All good. You’ve built these things… So you know… The trickiest part is making sure you don’t put pressure in the wrong place at the wrong time when fitting pieces together!
Exactly. I screwed up the marble night city run because it was the first set I built and I broke some pieces. But in regards to your post above what do you mean when you said you can cheat because there is no glass?
Quoted from monke0430:But in regards to your post above what do you mean when you said you can cheat because there is no glass?
It’s pinball. I’ll let you think about it for a minute. ![]()
![]()
Quoted from scottslash:It’s pinball. I’ll let you think about it for for a minute.
Ohhhhhhhhh. That makes sense
Quoted from monke0430:Ohhhhhhhhh. That makes sense
The only reason I’m on Pinside is because of this ROKR set so I forgot that the main point of this site is pinball
Apparently there is an issue with the sensors on the tracks that when the ball goes up the ramps and stuff sometimes the sensor doesn’t activate. Just wanted to let people know
Quoted from scottslash:Little over 10 hours in. Big chunk of the playfield is done. Flippers come next. Taking a break.
[quoted image][quoted image][quoted image]
that’s awesome! I can’t help but notice what I think are rubber bands and bells? Is that correct?
Quoted from monke0430:that’s awesome! I can’t help but notice what I think are rubber bands and bells? Is that correct?
Ok never mind I just looked harder and those aren’t rubber bands but do the 3 little numbers in the shape of circles move up and down when hit?
Added 11 months ago:I meant bumpers not numbers
Quoted from monke0430:Is there wax in this set? Mine didn’t come with any
No wax in mine either. I scrounged some from previous kits. They warned somewhere that the kit might not include wax due to varying customs/import regulations across the globe.
Quoted from monke0430:Are you going to need a lot of wax or not?
No. So far only the flipper mechanisms have called for wax, and I don't foresee much else. Just a spinner or gate perhaps. There aren't a lot of moving parts besides the ball. ![]()
Quoted from monke0430:Would crayons work?
I'd go with a candle over a crayon.
Quoted from monke0430:Just finished the build will post gameplay and images soon
Do you *sleep*?!?
Quoted from scottslash:Do you *sleep*?!?
Guess we will never know.
But in all seriousness I don’t know why but I am able to get through these sets pretty fast and got through with it in about 8 hours
Quoted from monke0430:Guess we will never know.
LOL. I, too, am big on “getting things done.” But doing this kit in 8 hours?!? Me, I like to slow down and enjoy the work. Looking forward to seeing your finished kit!
After playing this machine for a while I have come to notice that thing that flings the ball into the playfield only works 50% of the time
Quoted from OLDPINGUY:Im building this puzzle box from Kit...it appears similar in construction work. A quick time lapse vid might help see the work.
(Although this is one color wood, and the wiring on the pin is far superior)
https://images.squarespace-cdn.com/content/v1/5fb580b091db0704dc270739/1618695339133-62BH7W07HGCDHA36H9Y8/Architecto%2Bpuzzle%2B.jpg
Have you seen the 3d wooden puzzles made by Intrism? Once they are assembled, they turn into marble mazes that you can play. Each is a different design, size, and level of difficulty.
https://intrism.com/collections/intrism-3d-wooden-puzzles
Quoted from marbles:Have you seen the 3d wooden puzzles made by Intrism? Once they are assembled, they turn into marble mazes that you can play. Each is a different design, size, and level of difficulty.
https://intrism.com/collections/intrism-3d-wooden-puzzles
[quoted image]
Those look very interesting but they are quite expensive!
Quoted from marbles:Have you seen the 3d wooden puzzles made by Intrism?
Thank you! I had not, and Ill share them with my other hobby forum on Puzzles!
There is a strange overlap for me, I didnt know of, or if anyone cared, but the Largest Puzzle Maker, Hanayama, started by making Pinball Wooden Tabletop games
Thanks for the video. Are the rubber bands just like a normal elastic band, or are they more like a pinball style “o” ring rubber band?
Quoted from Luckydogg420:Thanks for the video. Are the rubber bands just like a normal elastic band, or are they more like a pinball style “o” ring rubber band?
O Rings
I'm 2/3 through with assmebling this ROKR pinball machine and the damn dogs ate the instruction book. Does anybody know if I can get a PDF replacement anywhere. THe youtube videos are incomplete, at least in the step 12 videos.
I had to look up "help bot." I'm still not sure what one is. Will the help bot get me a replacement for the instructions ?
They sent me the pdf. Even though it's Saturday! What a great company.
https://drive.google.com/drive/folders/1avr6N7Kk_BZoVKhYh8qlAT5MlvC1hbDP?usp=share_link
It is finished!
Dim the lights so the optos work *much* better, and the thing's not half bad!
There's a 1000 pinball jokes I could make, but I won't. (Needs Titans, code is incomplete, etc. etc.) LOL
Spent about 15 hours to build. Cheaper than *other* therapies!
(Picture taken before starting a game, so only the GI lights are on.)
Quoted from scottslash:It is finished!
Dim the lights so the optos work *much* better, and the thing's not half bad!
There's a 1000 pinball jokes I could make, but I won't. (Needs Titans, code is incomplete, etc. etc.) LOL
Spent about 15 hours to build. Cheaper than *other* therapies!
(Picture taken before starting a game, so only the GI lights are on.)
[quoted image]
Congrats! 15 hours is a lot!
I would love to see a video of raw gameplay when you have time.
Again, congratulations on the build.
Quoted from jonnyqtrek:Cheers, nicely done! Any update on how it plays?
Thanks. It's kinda fun to play. Outlane drains are super rare, so ball times are looooooong. The ball hangs up often, but with no tilt, no problem. ![]() Arrows in the launcher lane count down the 6 balls/game. Once you reach the 1000 point mark, it basically plays a victory tune and resets. So, rarely have I played a 6-ball game on it.
Arrows in the launcher lane count down the 6 balls/game. Once you reach the 1000 point mark, it basically plays a victory tune and resets. So, rarely have I played a 6-ball game on it.
It a cool kit/novelty if you're into such things as I am. But no, it won't be used in a tournament anytime soon. LOL
Reply
Wanna join the discussion? Please sign in to reply to this topic.

Hey there! Welcome to Pinside!
Donate to PinsideGreat to see you're enjoying Pinside! Did you know Pinside is able to run without any 3rd-party banners or ads, thanks to the support from our visitors? Please consider a donation to Pinside and get anext to your username to show for it! Or better yet, subscribe to Pinside+!


 Kitchener, ON
 Monroe, LA
