(Topic ID: 70838)

Pinbot Fans and Owners Club!

By wayout440

10 years ago


Topic Heartbeat

Topic Stats

  • 6,058 posts
  • 464 Pinsiders participating
  • Latest reply 12 days ago by Neight
  • Topic is favorited by 232 Pinsiders

You

Linked Games

Topic Gallery

View topic image gallery

IMG_20240402_190322638 (resized).jpg
IMG_20240402_190531478 (resized).jpg
PXL_20240327_233803509 (resized).jpg
PXL_20240304_030924874 (resized).jpg
diode (resized).PNG
PXL_20240304_005552435 (resized).jpg
IMG_0445 (resized).jpeg
20240112_135819 (resized).jpg
20240112_135811 (resized).jpg
IMG_5901 (resized).jpeg
IMG_5902 (resized).jpeg
IMG_7922 (resized).jpeg
IMG_7923 (resized).jpeg
IMG_7921 (resized).jpeg
541EBD6A-2CA4-43E0-AB4B-B18C7FF31AF0 (resized).jpeg
Pinside_forum_7003307_0 (resized).jpg
There are 6,058 posts in this topic. You are on page 26 of 122.
#1251 7 years ago
Quoted from WhiskeyTango:

Everything is working great! I've been taking out the assemblies under the playfield for rebuilding. I basically hand clean everything and replace the coil sleeves and springs. There are a couple of items on my radar.
- Cleaning - Best way to clean plastic posts? Metal posts and screws?
- Screws - Holy cow this has a lot of mismatched screws. I'm a little OCD so I'm trying to source all the proper screws so I can start disassembling and cleaning the playfield.
- LED Flashers - Yes or no? It's LED throughout except the flashers. Is it worth it? Will I need to cut the resistor off the flasher board to keep them from stay on all the time?
- Playfield - It's in pretty good shape overall, but it does need so touchup. Does anyone do this for less than an arm and a leg?
- Stickers - Need the head, visor and shuttle. Where to source? Googling hasn't delivered much help.
That's all for now. Thanks!

posts are cheap enough, that if it takes more that a min or so to get nice, i would just replace. I put led's in the machine i did. loved it. They are bright, but its a personal preference thing.

#1252 7 years ago
Quoted from PanaPinResto:

I used to clean nuts, bolts and screws. Then I spent $80 and bought enough to restore 3 or 4 machines with all new hardware. To me it's not worth the cleaning time for $20 per machine.

Where did you get them? Were they sold as a kit or did you put it together yourself?

#1253 7 years ago
Quoted from WhiskeyTango:

Where did you get them? Were they sold as a kit or did you put it together yourself?

Boltdepot.com

Search topics with hardware in the title and there are a few threads. This thread
https://pinside.com/pinball/forum/topic/hardwareparts-to-have-on-hand-for-1st-time-playfield-restoreswap#post-2591220
Has a partial list to get you started.

#1254 7 years ago

After a few months of moving hell, I'm finally returning to a project PinBot I picked up just before, uh, the hell of moving. There were several prior hacks and poor repairs, and I've untangled a few... but there's a few more that would be easier if I knew exactly how the game should behave.

Anyway to get to the point, can someone explain how the "left visor" and "right visor" bulbs are supposed to work? As in when they are on, and when they are off, and such?

It looks like there are three sockets for each side but I don't yet know if they are controlled independently or what. And as it happens none of them were populated - just one clue among several that a PO had major issues with the flasher circuits. Further complicating my troubleshooting, most of the resistor boards need work as the resistors fell off. I also suspect an issue in the MPU special solenoids section: the transistor (Q71) for that part is *completely* blown out (and the triggering 7402 at U45 might be bad also since its associated pops and sling don't work correctly either).

But the right visor lock, when I put a bulb in, is on all of the time. Is that correct? The term "GI" confuses me here since I'm used to GI staying on all the time... but then why is it in the solenoid section, and why is the left on "special"? And if that right visor lock socket wants to be on, which other sockets should be on with it?

#1255 7 years ago
Quoted from goingincirclez:

After a few months of moving hell, I'm finally returning to a project PinBot I picked up just before, uh, the hell of moving. There were several prior hacks and poor repairs, and I've untangled a few... but there's a few more that would be easier if I knew exactly how the game should behave.
Anyway to get to the point, can someone explain how the "left visor" and "right visor" bulbs are supposed to work? As in when they are on, and when they are off, and such?
It looks like there are three sockets for each side but I don't yet know if they are controlled independently or what. And as it happens none of them were populated - just one clue among several that a PO had major issues with the flasher circuits. Further complicating my troubleshooting, most of the resistor boards need work as the resistors fell off. I also suspect an issue in the MPU special solenoids section: the transistor (Q71) for that part is *completely* blown out (and the triggering 7402 at U45 might be bad also since its associated pops and sling don't work correctly either).
But the right visor lock, when I put a bulb in, is on all of the time. Is that correct? The term "GI" confuses me here since I'm used to GI staying on all the time... but then why is it in the solenoid section, and why is the left on "special"? And if that right visor lock socket wants to be on, which other sockets should be on with it?

Once the tagets,are hit the visor opens and all number 89 28v flashers start flashing.
I think 2 under playfeild and 4 on playfeild..

#1256 7 years ago
Quoted from Milltown:

Once the tagets,are hit the visor opens and all number 89 28v flashers start flashing.
I think 2 under playfeild and 4 on playfeild..

Thanks. That would make sense. And I think you're right in that technically 4 of the bulbs fit into holes in the playfield, but two stay belw the pf (under the lock saucers).

But mine are labeled to be 1251 bulbs, not 89. I think my manual says this as well. Was a change made at some point?

And just to clarify the lamp behavior: are they lit solid before the visor opens, and just begin to flash at that point? Or do they stay dark until it opens and should only ever flash, not remain solid lit? And do both eyes (sides) work in unison, or can they work independently?

#1257 7 years ago
Quoted from goingincirclez:

But mine are labeled to be 1251 bulbs, not 89. I think my manual says this as well. Was a change made at some point?

To reiterate what been said a hundred times before: do not use #89 in there, they will melt your scoop plastic and burn in no time. They need to be #1251 (28v).

#1258 7 years ago
Quoted from goingincirclez:

Thanks. That would make sense. And I think you're right in that technically 4 of the bulbs fit into holes in the playfield, but two stay belw the pf (under the lock saucers).
But mine are labeled to be 1251 bulbs, not 89. I think my manual says this as well. Was a change made at some point?
And just to clarify the lamp behavior: are they lit solid before the visor opens, and just begin to flash at that point? Or do they stay dark until it opens and should only ever flash, not remain solid lit? And do both eyes (sides) work in unison, or can they work independently?

Here is a video I took of the visor behavior.

https://flic.kr/p/PtwYHy

#1259 7 years ago

Does anyone know if they make decals for the spacestation right above the shoot again insert? Mine has some bad touch up done to the white areas.

#1260 7 years ago
Quoted from Plumonium:

To reiterate what been said a hundred times before: do not use #89 in there, they will melt your scoop plastic and burn in no time. They need to be #1251 (28v).

Sorry .. yes,1251 ... the 89s will burn I Stanly.. my bad..

#1261 7 years ago
Quoted from Milltown:

Sorry .. yes,1251 ... the 89s will burn I Stanly.. my bad..

Instantly .. sorry and 8 used 1251 led 28v from cointaker ... they look great...

#1262 7 years ago

Or you can go to page 24 in this thread and read my info on how to easily rewire the sockets so you can use 89 bulbs or LED's, instead of 1251's. The ability to use red & blue 89 LED flashers under the visor really makes the game pop!!

#1263 7 years ago

I noticed there are 4 bulbs under the visor, 2 for the kicks and 2 that pop up towards the back. Are they all 1251? I just put blue and red 89 leds in the ones that pop up and they seem to work. Will i create any harm?

#1264 7 years ago
Quoted from WhiskeyTango:

Here is a video I took of the visor behavior.
https://flic.kr/p/PtwYHy

Wow that was an awesome and perfect help. Beers to you for taking the time... thank you!

#1265 7 years ago
Quoted from Yesh23:

I noticed there are 4 bulbs under the visor, 2 for the kicks and 2 that pop up towards the back. Are they all 1251? I just put blue and red 89 leds in the ones that pop up and they seem to work. Will i create any harm?

They will work for a while, but they will run crazy bright and hot, and then blow eventually... And the possibility of fire exists when electronics overheat, and LED's are electronics. Rewire the 3 sockets on each side in series, problem solved.

#1266 7 years ago
Quoted from goingincirclez:

Wow that was an awesome and perfect help. Beers to you for taking the time... thank you!

No worries. Happy to help.

#1267 7 years ago

I removed the ground wire from the resistor boards, then went LED's in all the 89's. The 1251's are still there, until I order the Cointaker LED's. The only 1251's I believe, are the "eyes" in the Back Box, and the 6 associated with the Visor. Mine had a ton of stickers saying 28V in the wrong places.

#1268 7 years ago

Just trying to confirm if this is where all the 1251s are at. Two under the visor for the left right eject holes, two on the backbox in the middle for eyes and 4 above the playfield c,d,e and f? That would make all the rest 89's? I was trying to get away with not having to wire anything but using the Cointaker 1251 bulbs

#1269 7 years ago
Quoted from Yesh23:

Just trying to confirm if this is where all the 1251s are at. Two under the visor for the left right eject holes, two on the backbox in the middle for eyes and 4 above the playfield c,d,e and f? That would make all the rest 89's? I was trying to get away with not having to wire anything but using the Cointaker 1251 bulbs

Yup.

#1270 7 years ago

I debugged enough to finally play my first game tonight! With caveats and a cry for help that I'll get to in a minute. From where I came from with its acquired state (hacked flashers, a fried transistor, shorted pop switch (leafs assembled next to each other!), locking coils at start, switch terminals shorted to nearby brackets, etc etc etc), I feel mighty accomplished for getting it to pass all the tests and almost play a full game!

Yeah, so here's where the "almost" comes in. I had to work on the Special Soleniod section because all four coils associated to U45 were acting up: the left sling and left pop would lock on, the left visor flasher was fried, and the bottom pop would not work at all. There were several issues going on but the short of it for here is, for the left visor flasher (Q71) I had to replace the TIP122, 4401, and 5W resistor. I also replaced U45 with a new 74LS02.

Now there's no more issues at power on or attract, and I can start and play a game. But after about two minutes, the special solenoids act up again. First time this happened, the left sling began acting erratic by pulsing more steadily until it locked on its own. I powered down before any real damage was done. After a couple minutes I turned it on again and all was fine. I started a new game to troubleshoot and again after a couple minutes, this time the bottom pop exhibited the same behavior.

Each time, only the specific associated transistor was hot. But what gets me is why the different ones each time, and after a couple minutes? Nothing else on the board looks or smells suspect.

Could this be a mere symptom of needing to replace those other TIP122s outright, or something else (the 7402, now 74LS02, at U45) randomizing the symptom upstream? I'd rather not shotgun everything yet, but I'm not sure where to look first...

#1271 7 years ago
Quoted from goingincirclez:

Could this be a mere symptom of needing to replace those other TIP122s outright, or something else

Transistors don't lock on then work fine, once they short they stay shorted. I am working on something similar to your problem, mine will randomly lock on transistors Q-6,7,8,9,14,15,16 and Q-17 one at a time in attract mode. I have checked everything and I am going to replace PIA U10. I cut it off and the transistors stopped locking on, but have not installed a new chip as of yet. Never enough time for everything.

#1272 7 years ago
Quoted from GRUMPY:

Transistors don't lock on then work fine, once they short they stay shorted...

That's my understanding, which is why I found the behavior puzzling.

But I did some reading on my IC at U45 hunch and it turns out, the 74LS series is probably not a good sub in this application. Unfortunately it was all I had for a 74()02. The LS series draws low power and runs at high speed... sounds great right.... but it only supports a lower max current draw... oops, the special solenoids would especially be more than it likes!

So now speculating, that might explain why things get wonky after a short time in play... AND why the fault is not a hard-lock state... AND why it manifests on a random circuit (maybe the one most in use as it happens?). I'm catching the problem before the IC goes totally poof, but I'll have to get a standard 7402 and see if that solves the issue.

If it doesn't, well things will certainly be more interesting then won't they?!

#1273 7 years ago
Quoted from goingincirclez:

I'll have to get a standard 7402 and see if that solves the issue.

You will have to find NOS as these aren't being made any more. You can try a 74HCT02.

#1274 7 years ago

I want to replace the original flippers in my Pinbot and thought about going to the "fliptronic" mechanism.

Has anyone done this? Thoughts? Should I just do a regular rebuild kit?

Here are the preliminary parts I've put together:

Flipper kit: http://www.pinballlife.com/index.php?p=product&id=172
With the SFL 19/400 - 30/750 coil, A-12111 Coil Stop and the 03-7811 Normally Closed EOS switch.

Flipper bushings http://www.pinballlife.com/index.php?p=product&id=270

Am I missing anything?

IMG_2387 (resized).JPGIMG_2387 (resized).JPG

#1275 7 years ago
Quoted from WhiskeyTango:

Has anyone done this? Thoughts?

I'm currently going through this process on mine. What am doing is replacing the arm link (plunger), flipper bushing, coil stop and adding a custom made bracket to be able to use/attach a newer style return spring.

I am keeping my coil as they are still working but replacing the EOS switches since they get the most abuse. The change lane switches get cleaned and re-used.

So I get the feel of new style flippers.

I'll post very soon in my restoration thread and upload some pictures of the whole thing

#1276 7 years ago

I've upgraded 2/3/4 flippers on 18 or so 1980's Williams machines.

I always re-use the old coils and lane switches. Everything else is new. In retrospect, I would have likely kept all the old brackets, and just screwed the springs into the playfields to save a little $ and make "shorting" very unlikely. On the plus side, I really like the new bracket look.

-mof

#1277 7 years ago
Quoted from WhiskeyTango:

Has anyone done this? Thoughts?

https://pinside.com/pinball/forum/topic/pinbot-restoration-underway/page/2#post-3471166

Picture 5-6-7. In the last picture, you can see the bracket I'm talking about at the bottom left corner.

#1278 7 years ago
Quoted from GRUMPY:

You will have to find NOS as these aren't being made any more. You can try a 74HCT02.

Thanks. I ordered both from GPE today and hope to have them soon. Meanwhile, I remembered I had a roached Sys6 driver board with a couple 7402's on it, so I harvested those and ran some tests tonight. The results were intriguing! Since this could probably apply to other Sys11 games as well, I spun off a new thread earlier, and my updates are there:

https://pinside.com/pinball/forum/topic/sys11-special-solenoids-7402-short-bus-wonkiness

#1279 7 years ago

Alright Pinbot peeps.

I found a guy who will help with the printing of a playfield, but I do not have any good art.

Does anyone have a playfield image that will fit the bill??

#1280 7 years ago

So I got the new vortex ramp and I noticed a problem.

The still fall is too high(about 1/8") and does not allow the ball to travel up easily. You can hear it hit pretty hard.

Does anyone have experience getting this to sit properly? I've tried bending it but can only get the edge to cooperate.

cb45fcf36d84d695dea9b57a8a427a04e0648370 (resized).jpgcb45fcf36d84d695dea9b57a8a427a04e0648370 (resized).jpg

22a7ec95062109179fee077fe3e8adb270378a7b (resized).jpg22a7ec95062109179fee077fe3e8adb270378a7b (resized).jpg

#1281 7 years ago

Get out a grinder cause those repro ramps suck!

#1282 7 years ago
Quoted from WhiskeyTango:

So I got the new vortex ramp and I noticed a problem.
The still fall is too high(about 1/8") and does not allow the ball to travel up easily. You can hear it hit pretty hard.
Does anyone have experience getting this to sit properly? I've tried bending it but can only get the edge to cooperate.

Umm, that flap is supposed to be like that! there is a recess in the PF that the plastic under it sits into and makes the flap sit flat on the PF! You may have just ruined your flap dude... If you cant get it perfectly flat again, when you install it, you'll have a nice speed bump that'll screw your skillshot.

#1283 7 years ago

What I did on mine, was grind out as much as I could on the bottom parts to get it close, then I put a small piece of mylar over the flap and onto the pf to smooth it out as best as I could.

#1284 7 years ago
Quoted from WhiskeyTango:

Does anyone have experience getting this to sit properly?

My experience with the vortex documented here:
https://pinside.com/pinball/forum/topic/pinbot-restoration-underway/page/2#post-3430763

#1285 7 years ago
Quoted from Insane:

What I did on mine, was grind out as much as I could on the bottom parts to get it close, then I put a small piece of mylar over the flap and onto the pf to smooth it out as best as I could.

Don't forget the swearing. That's a big part of the process.

#1286 7 years ago
Quoted from RCA1:

Don't forget the swearing. That's a big part of the process.

That's funny

#1287 7 years ago

Is the tumbler worth the investment? By that, I mean does it do something that you can't do with your own hands and time?

I'm only cleaning and restore Pinbot at this time. My Demolition Man is in pretty good shape.

#1288 7 years ago

RCA1 got a chance to play and help me with the one I did, he KNOWS there was a lot of swearing...

#1289 7 years ago
Quoted from WhiskeyTango:

Is the tumbler worth the investment?

I feel I got my money's worth on that single restoration. It's like magic. You don't want to polish every little pin and washers... you could but you don't want to.

Before:
https://images.pinside.com/3/a6/3a6359dd0cf44011a633eb2493aaea13fe028879/resized/large/3a6359dd0cf44011a633eb2493aaea13fe028879.jpg

After:
https://images.pinside.com/4/ea/4ead5b284317cc30615fb6a7bbe665d1b5b98955/resized/large/4ead5b284317cc30615fb6a7bbe665d1b5b98955.jpg

Worth mention that I clean and de-grease the parts before: Throw everything in a container, spray purple power, shake, fill with water, stir, rinse and dry before putting in the tumbler. Otherwise, you'll get your media freaking dirty in no time.

#1290 7 years ago

The grime, the grime... oh my god the grime... I think someone removed mylar in the whole section around the top pop (WHHYYYY?!?!?!) but left the adhesive and it turned to caulk! Despite this I've made good progress on my proj-bot and while I don't think it's a good candidate for a full resto (playfield has too many different random issues) it's cleaning up decently. I debugged the hacks and other problem areas and the game now plays - quite smoothly in fact! Can't wait to see how it plays once I get a few parts in.

Only major problem left seems to be the flashers: nothing operated by a resistor board seems to be working. The inserts stay dark while the visor ones stay on. But I'm still waiting on new resistors, guess Ed at GPE got slammed after the break.

Anyway, a favor to ask since I'm sure some of you have upgraded your plastics with new CPR sets. Would anyone have some serviceable spares of that large blue plastic in the back left corner? Or the multicolor one behind the round chest targets? On mine, the blue one is missing a broken piece near the visor, while the multicolor one is badly faded. If it helps, I have a couple spares of my own to trade: keychains and lane covers primarily.

As I said before, this game probably won't get the full showpiece resto treatment, but it affordable used pieces that are better than what I've got are out there, I wouldn't mind to do what I can for the old bot.

#1291 7 years ago
Quoted from TheOnlyest:

Umm, that flap is supposed to be like that! there is a recess in the PF that the plastic under it sits into and makes the flap sit flat on the PF! You may have just ruined your flap dude... If you cant get it perfectly flat again, when you install it, you'll have a nice speed bump that'll screw your skillshot.

Bent it back flat and it's about 2-3 times higher than the original ramp; Given that, I don't be it's supposed to be like that.

There is a new report ramp on ebay, but I'm hesitant. I'd like to get this one fixed, but I'm also concerned about breaking it.

#1292 7 years ago
Quoted from Plumonium:

I feel I got my money's worth on that single restoration. It's like magic. You don't want to polish every little pin and washers... you could but you don't want to.
Before:
https://images.pinside.com/3/a6/3a6359dd0cf44011a633eb2493aaea13fe028879/resized/large/3a6359dd0cf44011a633eb2493aaea13fe028879.jpg
After:
https://images.pinside.com/4/ea/4ead5b284317cc30615fb6a7bbe665d1b5b98955/resized/large/4ead5b284317cc30615fb6a7bbe665d1b5b98955.jpg
Worth mention that I clean and de-grease the parts before: Throw everything in a container, spray purple power, shake, fill with water, stir, rinse and dry before putting in the tumbler. Otherwise, you'll get your media freaking dirty in no time.

Great feedback. What tumbler did you end up getting?

#1293 7 years ago
Quoted from WhiskeyTango:

Bent it back flat and it's about 2-3 times higher than the original ramp; Given that, I don't be it's supposed to be like that.
There is a new report ramp on ebay, but I'm hesitant. I'd like to get this one fixed, but I'm also concerned about breaking it.

Install the ramp with the screws in place and everything, and post a closeup pic or 2 of the flap and how its positioned, we can go from there.

#1294 7 years ago
Quoted from WhiskeyTango:

Great feedback. What tumbler did you end up getting?

The cheap one from amazon.

Frankford Arsenal Quick-n-Ez Case Tumbler

#1295 7 years ago
Quoted from WhiskeyTango:

I want to replace the original flippers in my Pinbot and thought about going to the "fliptronic" mechanism.
Has anyone done this? Thoughts? Should I just do a regular rebuild kit?

I may be in a minority here, but I personally don't know that it's a significant difference really. I have rebuilt all flippers in my collection - F-14, Sorcerer, Diner, PinBot - and have Fliptronic spings on two of them and old style coil springs on the other two. I challenge anybody to tell me which are which. If you really want the later style spring, it's very easy to do provided you have the correct parts - base assembly and plunger assemblies need that extra tab for mounting the spring. The tricky part is, Williams subtly changed coil stop size and the plunger length over the years. (Fliptronic era flippers don't cradle as high - kinda cool in that you can do rollover passes more easily, but in my experience they make post passes way harder to pull off) When I first rebuilt my Diner flippers, I didn't realize I had the Fliptronic era plungers but a sys11 coil stop, and the linkage was bottoming out against the coil entrance (which would eventually break the linkage) rather than the plunger striking the coil stop. All this is a long winded way of saying that you definitely want to buy the full kits; personally, I just stick with what was stock in the game (though there's a case to be made for updating to later era coils to elimiate sparking across the EOS switches). That way you know you're using the right parts, and the action of the game (based on flipper travel) is the same as on the original run. (I personally prefer the longer throw on sys11)

#1296 7 years ago
Quoted from sethbenjamin:

I may be in a minority here, but I personally don't know that it's a significant difference really.

I agree, freshly rebuilt flippers plays very nice no matter what style they are. Might as well go with newer style spring my thinking is. I use shorter 12111 coil stop for longer travel, that is it.

#1297 7 years ago

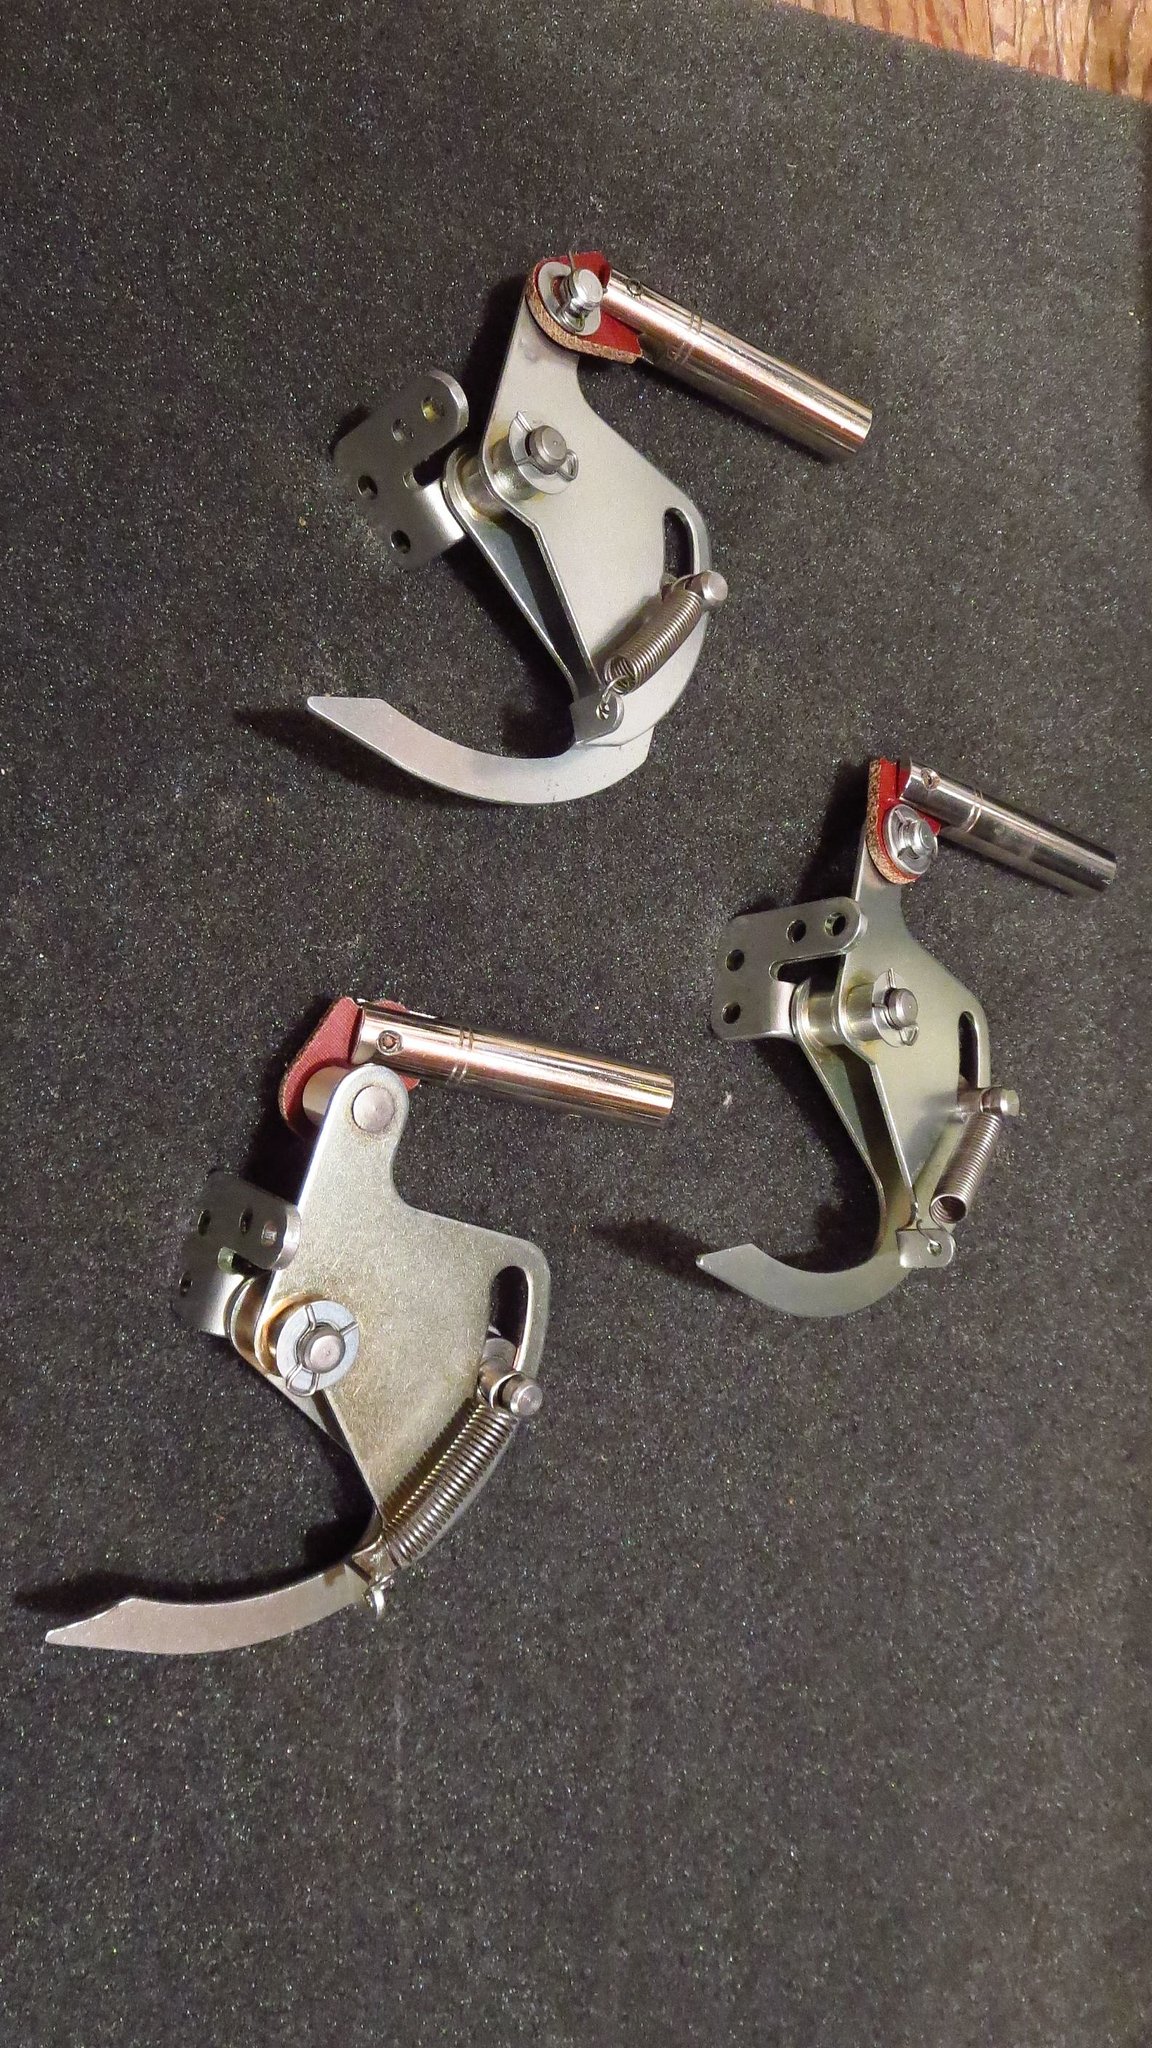
Bump on spare plastics from anyone? Willing pay reasonable amount for decent used ones, or I can trade. Looking for the big blue one (or even just the "finger" next to the visor), the red one over the round chest targets, and the clear shuttle arc over the vortex.

~~~~~~~~~~~~~~~~~~~~~

Also, I need some help to figure out how the large visor bulb sockets should be wired. Someone did a major hack job on these because nothing makes sense, and I can't find a clear reference. Even the workmanship doesn't betray what's factory and what's later.

When I got the machine NO bulbs were present, and the Left Visor solenoid section was completely fried. I repaired the solenoid section and installed bulbs. Now, all the bulbs stay constantly lit.

But it gets stranger than that. The left side is constantly on, but the transistor does not get warm, and I can never tell that it is trying to flash. The right side is constantly on, but its intensity does vary when it should be flashing.

OK, so what lurks below the playfield? Here's the left visor:

LeftVisorProblembulbs (resized).jpgLeftVisorProblembulbs (resized).jpg

This side is fully lit all the time. It does not attempt to flash. Looking at the wiring, we see the harness come in (via green and red wires) to feed the bulb closest to it. That bulb connects to the lock bulb. Then the lock bulb connects to the last bulb. Essentially a series-parallel setup.

This is completely different from the right side:

RightVisorProblemBulbs (resized).jpgRightVisorProblemBulbs (resized).jpg

This side stays lit but does flash. Are here we see as before, the harness feeds into the first bulb.... but from there, it goes directly to both the lock bulb and the last bulb. More of a parallel-only setup. Now it looks like this might have been done to help route wire around the lock mech... but in order to maintain consistent voltage and performance, shouldn't both sides match?

BUT WAIT THERE'S MORE because speaking of things that don't match, it gets better! Now I know that for AC bulbs polarity doesn't matter, but I am used to the convention that "base (positive) tabs" on sockets all share the same line, while the "barrel (ground) tabs" share another. Because that's critically important with controlled lamps like these.

So now look at the left visor again: the gray line connects Bulb 1 (near harness) base tab, connects to lock bulb's barrel, connects to bulb 3's barrel.

but on the right visor: the gray line connects Bulb 1 (near harness) base tab, to lock bulb's barrel, connects to bulb 3's *base*!

ARRRGH nothing is sensible, or consistent, or even wrong in the same way...!

So this poor ol' PinBot beseeches thee: can someone post clear photos of their stock wiring so I can compare? Thank you!

#1298 7 years ago
Quoted from goingincirclez:

So this poor ol' PinBot beseeches thee:

Electrically they are the same. Both sets are wired in parallel as they should be. Positive and negative connections don't come into play because these bulbs are not in a matrix with diodes. Now just because you rebuilt the transistor portion of CPU doesn't mean you have fixed your problem. You should have a logic probe to test this further.

#1299 7 years ago

Does someone have a factory manual from which they'd be willing to scan the schematics from for the sound board? I have the one from IPDB and it's not of very good quality. PM me and I'll send you an e-mail address. Thanks in advance.

Regarding the sound board, I have the voice with my Pinbot but no music. I have swapped in a good MPU from a Jokerz so that does not seem to be the issue. This is my first experience with a Pinbot so I don't even know what the music is supposed to sound like. The sound board has been recapped and I have a new sound ROM for U4 on order. Where do I start trouble-shooting the board? I have a probe and a digital-multimeter.

#1300 7 years ago
Quoted from FiatsRUs:

Does someone have a factory manual from which they'd be willing to scan the schematics from for the sound board? I have the one from IPDB and it's not of very good quality. PM me and I'll send you an e-mail address. Thanks in advance.
Regarding the sound board, I have the voice with my Pinbot but no music. I have swapped in a good MPU from a Jokerz so that does not seem to be the issue. This is my first experience with a Pinbot so I don't even know what the music is supposed to sound like. The sound board has been recapped and I have a new sound ROM for U4 on order. Where do I start trouble-shooting the board? I have a probe and a digital-multimeter.

http://mirror2.ipdb.org/files/1796/Williams_1986_Pin_bot_Manual.pdf

Promoted items from Pinside Marketplace and Pinside Shops!
$ 18.00
Electronics
Yorktown Arcade Supply
 
$ 36.95
Eproms
Pinballrom
 
2,800
Machine - For Sale
West Chester, PA
$ 29.95
Playfield - Toys/Add-ons
PinBoss Mods
 
$ 54.99
Cabinet - Shooter Rods
Lighted Pinball Mods
 
$ 2.50
Lighting - Led
Pinballrom
 
$ 65.00
Boards
Pinball Haus
 
$ 12.50
Lighting - Led
RoyGBev Pinball
 
From: $ 1.25
Playfield - Other
Rocket City Pinball
 
3,750 (Firm)
Machine - For Sale
Clovis, CA
2,550 (OBO)
Machine - For Sale
Bethlehem, PA
3,000 (OBO)
Machine - For Sale
Fargo, ND
$ 39.99
Eproms
Matt's Basement Arcade
 
$ 69.00
Gameroom - Decorations
Pinball Pimp
 
$ 175.00
Lighting - Interactive
Professor Pinball
 
From: $ 17.00
Lighting - Backbox
Twisted Tokens
 
$ 35.99
Eproms
Matt's Basement Arcade
 
$ 18.95
Eproms
Pinballrom
 
Hey modders!
Your shop name here
There are 6,058 posts in this topic. You are on page 26 of 122.

Reply

Wanna join the discussion? Please sign in to reply to this topic.

Hey there! Welcome to Pinside!

Donate to Pinside

Great to see you're enjoying Pinside! Did you know Pinside is able to run without any 3rd-party banners or ads, thanks to the support from our visitors? Please consider a donation to Pinside and get anext to your username to show for it! Or better yet, subscribe to Pinside+!


This page was printed from https://pinside.com/pinball/forum/topic/pinbot-fans-and-owners-club/page/26?hl=fiatsrus and we tried optimising it for printing. Some page elements may have been deliberately hidden.

Scan the QR code on the left to jump to the URL this document was printed from.