(Topic ID: 207902)

Need to understand how to reseat wires into connector

By DavidLee

6 years ago


Topic Heartbeat

Topic Stats

  • 25 posts
  • 10 Pinsiders participating
  • Latest reply 6 years ago by DavidLee
  • Topic is favorited by 5 Pinsiders

You

Linked Games

Topic Gallery

View topic image gallery

pasted_image (resized).png
IMG-0995 (resized).JPG
IMG-0994 (resized).JPG
IMG-0993 (resized).JPG
IMG-0981 (resized).JPG
IMG-0991 (resized).JPG
osb7_03a (resized).jpg
unnamed (resized).jpg

You're currently viewing posts by Pinsider DavidLee.
Click here to go back to viewing the entire thread.

#1 6 years ago

Hi everyone. I have an opto problem on my Judge Dredd, which has the OSB-7 opto boards from Great Lakes Modular.

http://www.greatlakesmodular.com/index.html?http://www.greatlakesmodular.com/products/

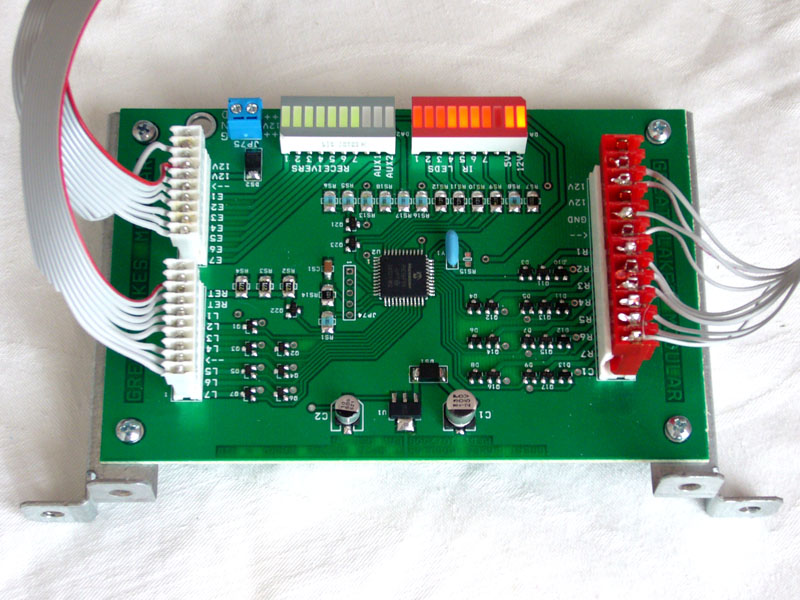
I mistakenly thought there was a bad connection in the connector for the wires to the board, and hosed it up by pulling the wire out and trying to reseat it. Can someone tell me how to reseat wires into this connector, or how to purchase a replacement connector, or the special tool or technique I may need? A photo of the connector is attached.

This is my first forum post to Pinside.... let's see how this goes!

unnamed (resized).jpgunnamed (resized).jpg

#6 6 years ago

Wow... thanks for all of the quick responses and great help! Using a screwdriver is what I have been trying, but I can't seem to get a good connection. Hopefully I didn't damage the metal tabs that are supposed to cut and displace the insulation. I found a tool that looks like it will do the trick, called a "Punch Down Tool, Multifunction Krone Type IDC/Network Wire Cat5 & Telephone Impact Terminal Insertion Tool".

Here's the link to it on Amazon: http://www.amazon.com/gp/product/B06Y53H9WF/ref=oh_aui_detailpage_o01_s00

I bought it and will give it a try and report back here.

In case I DID damage the connector, does anyone know where I can buy a replacement? I can take other pictures if that is helpful. Here's what I know... it is .100 inch, 8 pin, and I've seen the terms "locking ramp" that seems to describe the click mechanism, and "crimp and stuff" (although I don't think that is the same as the IDC method).

Here's something that looks similar on pinball life, although the pitch, etc. are wrong:
https://www.pinballlife.com/index.php?p=product&id=3451

#7 6 years ago

Here's a top-view picture from the Great Lakes Modular website:

http://www.greatlakesmodular.com/products/pinball/images/osb7_03a.jpg

osb7_03a (resized).jpgosb7_03a (resized).jpg

#9 6 years ago

Thanks RCA1 ... you confirmed what didn't 'feel' right regarding 'crimp and stuff' vs. IDC connections. Also, thanks for the link pinside. I need 10 pins, and the one that I found was from a company called Great Plains Electronics. This seems to have the 'locking ramp' edge so hopefully it would click securly in place on the board.

https://www.greatplainselectronics.com/proddetail.asp?prod=22-01-2107

My plan is to try to reseat the wire using the tool I ordered from Amazon. If that doesn't work, then I'm thinking I should replace my IDC connector with something non-IDC and more reliable.

Does anyone have suggestions for the best connector for this? So, it would be 10 pins, .100 inch, and would have that 'locking ramp' so that it would click-insert to the board?

#13 6 years ago

Thanks for the additional input, GRUMPY and Completist .

Regarding the punchdown tool, I am thrown by needing a .156 tool for use on a .100 connector. Is this right? Thinking about it, the wires are smaller then the power wires in the machine, but are probably bigger than those in a cat5 cable (like the tool I found describes).

Also, regarding the locks on the header on the board, I took some photos of the existing header and connector, but it seems like I would need to have the 'friction locks' (?) on the header so that the connector won't shake itself off.

Here's more photos for more details.

Thanks again for the help!!!

IMG-0991 (resized).JPGIMG-0991 (resized).JPG

IMG-0981 (resized).JPGIMG-0981 (resized).JPG

IMG-0993 (resized).JPGIMG-0993 (resized).JPG

IMG-0994 (resized).JPGIMG-0994 (resized).JPG

IMG-0995 (resized).JPGIMG-0995 (resized).JPG

#15 6 years ago

The method I used to determine .100 inch vs. .156 inch was comparing it to two other connectors -- one known to be .100 inch, and one known to be .156 inch. The pin spacing ("pitch") is definitely .100 inch. The photos are highly zoomed, so they look bigger in the photos then they do when handling them. I'm still wondering about the size of the wires though... and I haven't even begun to read up on that. I already ordered the tool from Amazon, so when it gets here I'll look at the connector and tool together.

#17 6 years ago

That looks like the one! I need 10 pins, and this one has 12 pins. Would this one work? How can I confirm??

http://www.marcospecialties.com/pinball-parts/5792-10818-10

EDIT: I see this is a .156 inch... and I can't find a 10 pin, .100 inch version.

#19 6 years ago

Thanks @ltg! I'll keep this thread posted with updates, results, learnings, etc.

#21 6 years ago

Cool! Thanks GRUMPY Looks like there's a few options for me, and I was worried I was going to be out of luck!

1 week later
#25 6 years ago

Hi all. I am struggling with what is likely a related issue, but I think I did get the specific wire seated pretty good. I stupidly had the punch down tool I ordered shipped to an old address. But, what I did was use some scissors and cut a wooden toothpick in half. The cut end (not the sharp end) was blunt and about the right wide for the .156 inch wire. I pushed down on all sides of the insulation-cutting part of the connector and it worked well.

Still having lots of grief with connections though. I posted a new topic on that here:
https://pinside.com/pinball/forum/topic/optos-and-switch-matrix-on-midwaybally-judge-dredd

Promoted items from Pinside Marketplace and Pinside Shops!
6,550 (OBO)
Machine - For Sale
Pasadena, TX
$ 329.99
Lighting - Other
Lighted Pinball Mods
 
$ 85.00
5,000 (OBO)
Machine - For Sale
Dunkirk, MD
From: $ 19.99
Eproms
Matt's Basement Arcade
 
$ 35.00
Cabinet - Other
Rocket City Pinball
 
$ 72.95
Eproms
Pinballrom
 
From: $ 99.99
Cabinet - Other
Lighted Pinball Mods
 
$ 99.99
Playfield - Toys/Add-ons
Lighted Pinball Mods
 
$ 17.99
Eproms
Matt's Basement Arcade
 
5,300 (OBO)
Machine - For Sale
Minneapolis, MN
$ 29.50
Playfield - Plastics
Pinball Haus
 
$ 69.99
Playfield - Toys/Add-ons
Lighted Pinball Mods
 
$ 1.00
Pinball Machine
Pinball Alley
 
$ 165.00
Playfield - Toys/Add-ons
DevilsMuse Arcade
 
$ 29.00
Cabinet - Other
Filament Printing
 
$ 9.95
Eproms
Pinballrom
 
$ 9.95
Eproms
Pinballrom
 
$ 30.00
Playfield - Other
YouBentMyWookie
 
$ 65.00
Cabinet - (Alt) Translites
Pinball Haus
 
$ 285.99
Cabinet - Other
PinSound
 
$ 19.95
Playfield - Toys/Add-ons
ULEKstore
 
$ 14.00
Cabinet - Toppers
Twisted Tokens
 
4,250 (Firm)
Machine - For Sale
Richardson, TX
From: $ 20.99
Playfield - Plastics
Gameroom Mods
 
$ 10.00
Playfield - Other
Nezzy's Pinball Prints
 
Hey modders!
Your shop name here

You're currently viewing posts by Pinsider DavidLee.
Click here to go back to viewing the entire thread.

Reply

Wanna join the discussion? Please sign in to reply to this topic.

Hey there! Welcome to Pinside!

Donate to Pinside

Great to see you're enjoying Pinside! Did you know Pinside is able to run without any 3rd-party banners or ads, thanks to the support from our visitors? Please consider a donation to Pinside and get anext to your username to show for it! Or better yet, subscribe to Pinside+!


This page was printed from https://pinside.com/pinball/forum/topic/need-to-understand-how-to-reseat-wires-into-connector?tu=DavidLee and we tried optimising it for printing. Some page elements may have been deliberately hidden.

Scan the QR code on the left to jump to the URL this document was printed from.