(Topic ID: 113331)

My new original Metallica hammer design

By Aurich

9 years ago


Topic Heartbeat

Topic Stats

  • 488 posts
  • 117 Pinsiders participating
  • Latest reply 8 years ago by Aurich
  • Topic is favorited by 28 Pinsiders

You

Linked Games

Topic Gallery

View topic image gallery

metallica-ride-the-lightning-shirt-bi.jpg
image.jpg
520947.jpg
giphy.gif
image-627.jpg
image.jpg
image.jpg
image.jpg
IMG_0005-884.JPG
IMG_0004-842.JPG
IMG_3771.GIF
FullSizeRender-2.jpg
FullSizeRender.jpg
20150303_171425.jpg
20150301_132347.jpg
image-522.jpg
There are 488 posts in this topic. You are on page 1 of 10.
33
#1 9 years ago

I love my Metallica LE, one of the best Stern games ever IMHO. The Premium features rule, make the game so much more fun. But ... I'm not a huge fan of the hammer. Mostly because it, well, huge.

Honestly I did get pretty used to it after some time, but I couldn't help but wonder if making it smaller would work.

I did some prototyping and found that it really doesn't need to be that big to work at all. The ideal size is wide and tall enough to hide the arm and mech behind it, and no more. Still fits over the ball, but the shot to Sparky is much easier to see, no more guessing, and if you have the captive ball (and you should, way better than the block) you can see it more clearly now.

I've played games with a prototype installed no problem, I'm pretty certain this is going to work. I'll have fun testing it, that's for sure!

#2 9 years ago

So the trick with the hammer is it needs to be hollow to hide the ball during the disappearing trick, and it has to be big enough to cover the ball with a little slop to cover wiggle of the hammer arm and the ball not centering properly. But that's it. If the ball is off just a little more it's a sphere, and the edge of the hammer striking it will shift it over just fine. I haven't even had that happen though, the magnet holds it pretty much in the same spot every time.

My experimenting found that nominal 1.5" PCV pipe was basically perfect, so that's what I used as the armature for my sculpt. I cut a section of pipe 3" tall, and drilled a 1" hole in the back to accept another piece of PCV, this with a 20mm inside diameter.

Over this I started sculpting using Apoxie Sculpt, which is a 2-part epoxy.

IMG_3308.JPGIMG_3308.JPG

My design is meant to look like wooden planks held around a wood core with iron bands, topped with steel spikes. Gotta keep it mean for Metallica.

I settled on 10 spikes going around, seemed like the right density. I printed a template to guide me in spacing them, and stuck them into the wet epoxy clay (to be removed later, leaving the indentations).

IMG_3310.JPGIMG_3310.JPG

Here's the top and bottom spiked up, with a Sparky for scale.

IMG_3314.JPGIMG_3314.JPG

I built a rough prototype before going all in, to test the sculpting idea, see how paint adhered etc. Here's the proto next to the in progress final design.

IMG_3319.JPGIMG_3319.JPG

Now the final design with initial base coating. Whole thing painted black, and then I started picking out the wood grain and details.

IMG_3320.JPGIMG_3320.JPG

#3 9 years ago

Here you can see the base coats fairly finished. I sprayed a couple coats of Krylon matte poly in between major sections to protect the finish as I worked, didn't want to rub the acrylics off as I handled it. After that I'd do another layer of detail, like a black wash, or pick out edges in a lighter color, paint in some simulated wood grain, dry brush a lighter silver over the darker, etc.

IMG_3321.JPGIMG_3321.JPG

A shot in the sun, this is before some final paint. I didn't document it again after that until install, I was basically just taking pictures randomly to show the process, not trying to do a step-by-step tutorial or anything.

IMG_3322.JPGIMG_3322.JPG

Once the paint was done I sprayed it with more matte poly and let it dry. Then I used Gorilla Glue 2-part epoxy to attach the spikes (except the top one, that one screws on since I was able to do that easily). This is the real test, will the spikes take the occasional ball strike. If that becomes an issue I'll drill out the holes and get longer screws for the spikes and mount them threaded from the inside. I don't think I'll have to do that though.

Here's a close up installed. I used a shorter bolt to attach it since it's narrower.

IMG_3325.JPGIMG_3325.JPG
And a couple shots of it from further away so you can see the whole game.
IMG_3323.JPGIMG_3323.JPG
IMG_3324.JPGIMG_3324.JPG

#5 9 years ago
Quoted from GAP:

come on what is taking so long!!!!

Working on it!

#7 9 years ago

Love it so far. You do some awesome work Aurich!

Keith

#8 9 years ago
Quoted from kpull:

Love it so far. You do some awesome work Aurich!
Keith

Thanks, got the rest of the pics up.

Let me know if anyone has questions or anything. Was a fun little project. For the record it's not the Metallica project I've teased before, just a distraction I got sucked into like the shooter rod. Can't seem to help messing with this game, I've got more schemes!

The epoxy on the spikes should be dry enough now, but I'm gonna let it sit for at least a few more hours before really testing that.

#9 9 years ago
Quoted from Aurich:

Thanks, got the rest of the pics up.
Let me know if anyone has questions or anything. Was a fun little project. For the record it's not the Metallica project I've teased before, just a distraction I got sucked into like the shooter rod. Can't seem to help messing with this game, I've got more schemes!
The epoxy on the spikes should be dry enough now, but I'm gonna let it sit for at least a few more hours before really testing that.

The ball may knock the lower back spikes off the hammer.

Rob

#10 9 years ago

That looks awesome!

#11 9 years ago

Nice, looks a lot better!

#12 9 years ago

I'll take one!

#13 9 years ago

Didn't think to take a pic with the old one for scale. Makes it clearer I think.

image.jpgimage.jpg

#14 9 years ago

LOVE the new size. When you make my custom one , please use the face drawings like the original Justice art or use a gavel. Many thanks!

#15 9 years ago
Quoted from Rob_G:

The ball may knock the lower back spikes off the hammer.

Yeah, that's the test, have to see if that's an issue. If so I'll just remove the back 3 or so, you really can't see them from the player perspective anyway. But I'll work about that after it's proven to be an issue, figured might as well go all out first.

I wouldn't put something like this on location, but for a home game I'm not worried. I took the ugly clear plastic off between the snake and the hammer too, I don't think I need it. See if that's true!

#16 9 years ago

Impressive great job!

#17 9 years ago
Quoted from M055781:

I'll take one!

Me too!

#18 9 years ago

Me three
Looks great.

#20 9 years ago

Aurich, that looks sweet!

Now stop....Hammertime!!

#21 9 years ago

Hoooooooly shit, that looks awesome! Very impressive. If i had the le instead of the pro, id be all over this. Awesome job!

#22 9 years ago

Very nice work!

#23 9 years ago

Thanks guys. I had fun with this one, and I really like how the game shoots better now. Have to see how the final one holds up.

I honestly wasn't planning on making more, they're pretty time intensive since they're made from scratch, and not from a mold or something. I'd probably have to charge more than people wanted to pay to make it make any kind of sense.

#24 9 years ago

I dunno how serious people in this thread are about wanting one, but I've gotten PMs from people who do. I'll figure out what it would take and let people know the price, and if it's too expensive then no worries. I wasn't planning on selling these, it was just a personal project. I just have to be careful of my time, I don't have enough of it.

I made a little list to keep track of interest in case it works out.

In the meantime I'm going to do some extensive play testing!

#25 9 years ago

Great Job Aurich! I wish I had your talent! If you have list going....can I be added?

#26 9 years ago

Wow! You are really talented! If you make them put me down for one.

#27 9 years ago

I'm on the list and hope that there's enough interest to make this worth Aurich's time. It looks fantastic!

#28 9 years ago

I'd buy one.

#29 9 years ago

Hammer and prision suit sparky look great!
Thanks for sharing!

#30 9 years ago

Amazing talent aurich. Well done!

#31 9 years ago

That is BAD ASS!

#32 9 years ago

Sick!!

#33 9 years ago

Okay, I'm not happy with the strength of the epoxy for the spikes, just not secure enough.

I'm going to re-engineer it to be even stronger. This may end up being prototype 2, if I can improve the design. Need to research some parts.

I was thinking too, I may add to the paint. The hammer might be interesting with some graphic line art on it (maybe a stylized letter M, or could letter out Hammer of Justice, have to think about it), make it feel like it matches the feel of my shooter rod more:

metallica-shooter.jpgmetallica-shooter.jpg

So if I'm rethinking the engineering and design I'll try and figure out if I could realistically do a small run of them for people who were interested.

If I like the way a graphic on the hammer works then maybe I'll do a custom painted one for each hammer I make, then no two will be the same. This would have to be some LE shit man, because I just don't have enough free time to do more than a limited run.

Anyone who's expressed interest just PM me, if you mentioned it in this thread I noted you already though. I'll just warn you, even though it will go a lot faster when I know what I'm doing and not having to experiment as I go, I spent time over 3 days making this, including letting things harden overnight before doing more sculpting the next day.

I just can't see being able to make these for under $200. So if that seems too expensive I'll totally understand. It needs to be more solidly engineered first.

I'll start working on that, I really like the way it plays, I want it working. It feels awesome to see more of the playfield, IMHO it's not just a cool visual mod, but one that actually improves the gameplay. Especially if you've swapped your block for the captive ball.

#34 9 years ago

that hammer is BAD ASS! great work! ha lemme know if you plan to sell any

#35 9 years ago

This looks amazing! I would love one, and agree the hammer is a little to big. How about instead of spikes all around old looking metal rivets or cut nails.

#36 9 years ago

Aurich you have some mad skills!

#37 9 years ago

Well done Aurich!!!! You should make a handle and a mounting bracket so they could be added to a pro, that is where the real need is.

#38 9 years ago

Great work!
I'll make a prediction:Soon you'll be offer to design toys for a major pinball manufacturer!
Here, i said it first!

#39 9 years ago

I dont know, is there a potential for 3D scanning and printing? definitely a nicer hammer for all the reasons you listed, if printed one piece then no studs coming loose and a little weight saved I'd think.

#40 9 years ago

I would like one

#41 9 years ago

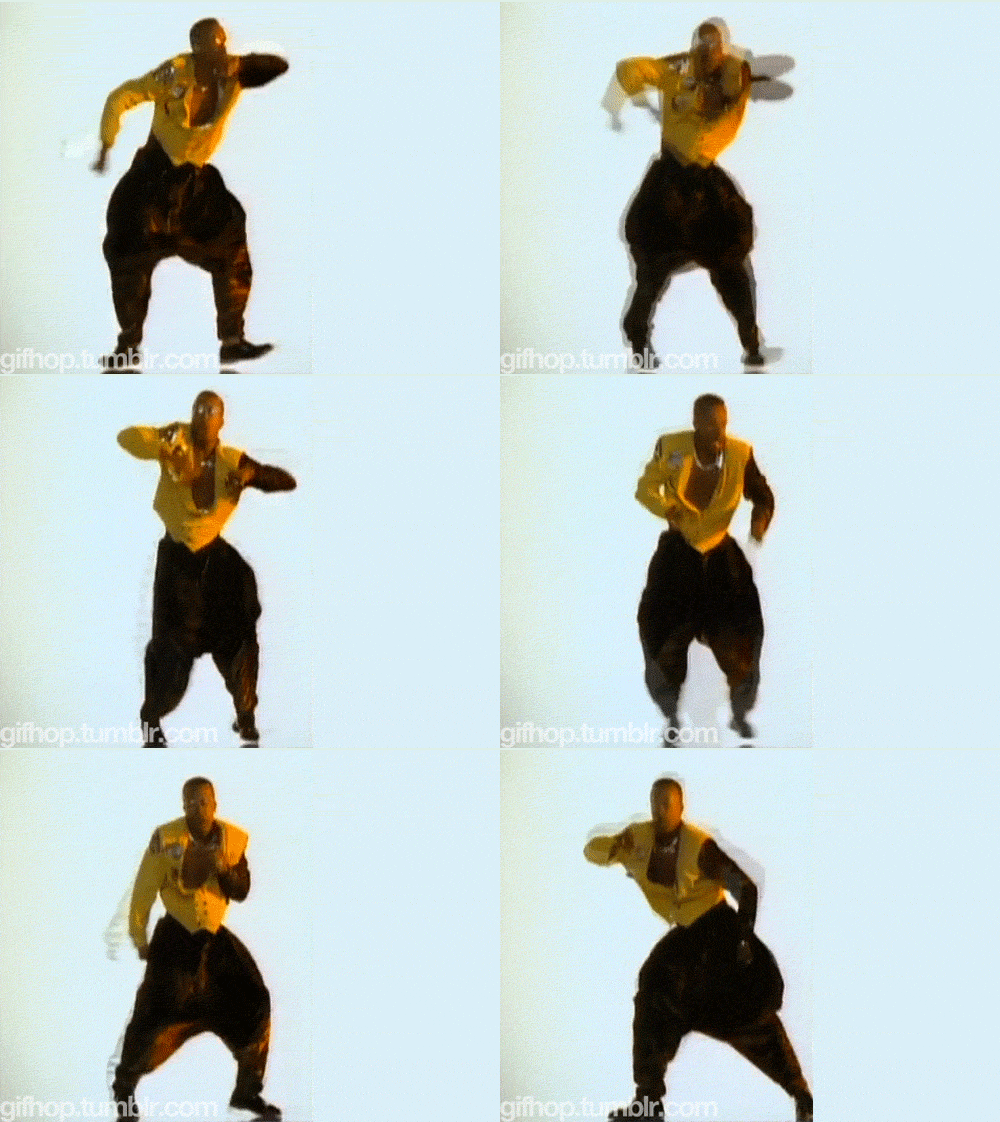
Mc hammer

image-470.jpgimage-470.jpg
11
#44 9 years ago

that new hammer looks nice, but it has nothing to do with metallica.
the Original hammer come's from the "and justice for all" artwork

metallica-hammerofjustice-pushead-shirt.jpgmetallica-hammerofjustice-pushead-shirt.jpg

#45 9 years ago

Nice work!

#46 9 years ago
Quoted from pascal-pinball:

that new hammer looks nice, but it has nothing to do with Metallica.
the Original hammer come's from the "and justice for all" artwork

metallica-hammerofjustice-pushea... 95 KB

That's why my "Aurich Custom LE SE XL edition" will resemble this picture - or at least a stylized gavel. I guess the problem is that you don't want to steal the original art or the DD art and just shrink it.

#47 9 years ago
Quoted from Hdmike444:

This looks amazing! I would love one, and agree the hammer is a little to big. How about instead of spikes all around old looking metal rivets or cut nails.

The nails might be too much, wouldn't want anything too jagged, but metal rivets could definitely work as an option. Still give it that "weighty" look without being so in your face like the spikes.

Someone has already asked me if I could built a no-spikes version if I do these, and I said that would be no problem. Since they're all hand built wouldn't be a big deal to work out some options I guess.

I'll keep it in mind while I work on tweaking the design.

#48 9 years ago
Quoted from pascal-pinball:

that new hammer looks nice, but it has nothing to do with Metallica.
the Original hammer come's from the "and justice for all" artwork

Yup, well aware of the history, I'm from San Francisco, been listening to Metallica since before that shirt existed. To me the Dirty Donny art has nothing to do with Metallica, I would have loved it so much if they'd had Pushead do the pin. So I really don't feel bad changing it.

Honestly as much fun as it is to make up little mods like this and customize the look of my game, this is actually a functional mod first, and visual second. I really like how my LE plays better now with the smaller hammer profile, it opens up the sight lanes to the shots.

#49 9 years ago

Looks great. You should contact mezel mods to see if the can 3D print it for you. Save a lot of molding time.

#50 9 years ago
Quoted from 85vett:

Looks great. You should contact mezel mods to see if the can 3D print it for you. Save a lot of molding time.

Heh, I've already talked to Tim.

I think what I would do is make a limited run of hand made ones, no two alike. And then let Tim work up a 3D printed version he could offer as a "mass produced" one that would be more affordable and he could keep it at an in stock item for any time.

So basically the Stern LE model I guess, but instead of being an artificial thing it would be because I truly can only make a limited run.

Honestly if everyone who's on my list actually wants to stay in I'm already approaching my limit.

Promoted items from Pinside Marketplace and Pinside Shops!
$ 22.50
Lighting - Led
Lermods
 
$ 25.50
$ 69.99
Playfield - Toys/Add-ons
Lighted Pinball Mods
 
10,999
10,600
$ 15.00
Cabinet - Other
Rocket City Pinball
 
$ 9.99
Cabinet - Other
Bent Mods
 
$ 69.99
Playfield - Toys/Add-ons
Lighted Pinball Mods
 
$ 19.95
Playfield - Protection
SilverBall Designs
 
$ 9.95
Lighting - Led
Mitchell Lighting
 
$ 29.95
11,000 (OBO)
Machine - For Sale
Mount Pleasant, WI
$ 69.99
Playfield - Toys/Add-ons
Lighted Pinball Mods
 
From: $ 30.00
$ 12.95
$ 15.00
Playfield - Protection
SilverBall Designs
 
From: $ 6.00
Playfield - Protection
SilverBall Designs
 
10,650
Machine - For Sale
Ontario, CA
$ 30.00
Playfield - Other
YouBentMyWookie
 
From: $ 35.00
Cabinet - Other
Rocket City Pinball
 
$ 19.95
Playfield - Protection
SilverBall Designs
 
$ 64.00
Lighting - Under Cabinet
Lermods
 
$ 68.50
Playfield - Toys/Add-ons
Lermods
 
$ 69.99
Playfield - Toys/Add-ons
Lighted Pinball Mods
 
$ 29.95
$ 49.00
Playfield - Toys/Add-ons
Lermods
 
$ 24.95
Playfield - Toys/Add-ons
ULEKstore
 
$ 7.00
Playfield - Toys/Add-ons
Pinball Z
 
Great pinball charity
Pinball Edu
There are 488 posts in this topic. You are on page 1 of 10.

Reply

Wanna join the discussion? Please sign in to reply to this topic.

Hey there! Welcome to Pinside!

Donate to Pinside

Great to see you're enjoying Pinside! Did you know Pinside is able to run without any 3rd-party banners or ads, thanks to the support from our visitors? Please consider a donation to Pinside and get anext to your username to show for it! Or better yet, subscribe to Pinside+!


This page was printed from https://pinside.com/pinball/forum/topic/my-new-metallica-hammer-design and we tried optimising it for printing. Some page elements may have been deliberately hidden.

Scan the QR code on the left to jump to the URL this document was printed from.