(Topic ID: 78179)

Getaway Club ~ Dispatch, run a make on license plate KINGPIN

By MrSanRamon

10 years ago


Topic Heartbeat

Topic Stats

  • 13,819 posts
  • 564 Pinsiders participating
  • Latest reply 4 days ago by golfergordy
  • Topic is favorited by 297 Pinsiders

You

Linked Games

Topic poll

“Which S/W Version do you use?”

  • L1 22 votes
    6%
  • L2 179 votes
    51%
  • L3 11 votes
    3%
  • L5 120 votes
    34%
  • P7 9 votes
    3%
  • C-C 7 votes
    2%

(Multiple choice - 348 votes by 346 Pinsiders)

Topic Gallery

View topic image gallery

shooter repair4 (resized).jpg
shooter repair3 (resized).jpg
Shooter repair2a (resized).png
Shooter repair1 (resized).jpg
Disappearing post fix4 (resized).jpeg
Disappearing post fix3 (resized).jpeg
Disappearing post fix2 (resized).jpeg
Disappearing post fix1 (resized).jpeg
HSIIclear (resized).jpg
pasted_image (resized).png
Shooter rod (resized).jpg
DSC06633 (resized).JPG
ezgif.com-video-to-gif-converter.gif
PXL_20240408_220306294 (resized).jpg
PXL_20240408_220311370 (resized).jpg
There are 13,819 posts in this topic. You are on page 213 of 277.
#10601 4 years ago

Just finished my second set of Getaway 3D flipper toppers: https://pinside.com/pinball/forum/topic/getaway-ampamp-high-speed-3d-flipper-toppers#post-5605312

These are a road design and come ready to install. Current price is $15 for the set of 3 including US shipping. As always, please PM me if interested in purchasing.

IMG_3815 (resized).JPGIMG_3815 (resized).JPGIMG_3813 (resized).JPGIMG_3813 (resized).JPGIMG_3814 (resized).JPGIMG_3814 (resized).JPGIMG_3812 (resized).JPGIMG_3812 (resized).JPG
#10602 4 years ago
Quoted from Mr_Tantrum:

Just finished my second set of Getaway 3D flipper toppers: https://pinside.com/pinball/forum/topic/getaway-ampamp-high-speed-3d-flipper-toppers#post-5605312
These are a road design and come ready to install. Current price is $15 for the set of 3 including US shipping. As always, please PM me if interested in purchasing.[quoted image][quoted image][quoted image][quoted image]

I like it. Makes more sense than the checkered flag flipper toppers (the theme of HS2 doesn't involve a race track).

#10603 4 years ago
Quoted from EStroh:

the theme of HS2 doesn't involve a race track.

Drive's me crazy when mod makers try to apply items with racing themes to this game. Getway does not have a racing theme. Rather, it has a chasing theme.

#10604 4 years ago

Love it, dead broke right now. Save me a set.

#10605 4 years ago
Quoted from Mr_Tantrum:

Just finished my second set of Getaway 3D flipper toppers: https://pinside.com/pinball/forum/topic/getaway-ampamp-high-speed-3d-flipper-toppers#post-5605312
These are a road design and come ready to install. Current price is $15 for the set of 3 including US shipping. As always, please PM me if interested in purchasing.[quoted image][quoted image][quoted image][quoted image]

I still love the regular ones you make. Don't forget to show those

#10606 4 years ago
Quoted from pinballjah:

I still love the regular ones you make. Don't forget to show those

They are both in the market linked to The Getaway, and I'm still making both.

https://pinside.com/pinball/market/classifieds/ad/74086

https://pinside.com/pinball/market/classifieds/ad/94888

#10607 4 years ago
Quoted from Mr_Tantrum:

They are both in the market linked to The Getaway, and I'm still making both.
https://pinside.com/pinball/market/classifieds/ad/74086

This one comes in a red and black as well. Love mine!

#10608 4 years ago
Quoted from pinballjah:

This one comes in a red and black as well. Love mine!

I'm all about custom colors. I'd do purple and pink if somebody asked for it.

#10609 4 years ago

Anyone know why this happens and how to stop it?!

Multiball starts, first ball drops. Second ball gets trapped by the third ball. And they just sit there the entire time.

COMPLETELY RUINS MULTIBALL!

please help....

20200421_221917 (resized).jpg20200421_221917 (resized).jpg
#10610 4 years ago
Quoted from Ecw0930:

Anyone know why this happens and how to stop it?!
Multiball starts, first ball drops. Second ball gets trapped by the third ball. And they just sit there the entire time.
COMPLETELY RUINS MULTIBALL!
please help....[quoted image]

I think the lock is supposed to let them out one at a time not together so start there. There's 3 switches in that lock I believe and they can be out if alignment and not registering properly at times. Im away from my game but fairly sure that's how it goes.

#10611 4 years ago
Quoted from Ecw0930:

Anyone know why this happens and how to stop it?!
Multiball starts, first ball drops. Second ball gets trapped by the third ball. And they just sit there the entire time.
COMPLETELY RUINS MULTIBALL!
please help....[quoted image]

My game did the same when I got it. Like pkrobin said, the balls are supposed to be released with a delay between them. If you search the forum you may find what I did... the spring on the solenoid / post that holds the balls in the lock needs to be "beefed up". After researching the forum I also found that if I added a second spring it solved the problem. I don't have a pic of mine, but I "interlaced" two springs together. Not sure why it works, but it did.

#10612 4 years ago

Start with adjusting your habitrail at the slingshot plastic. It can be seen in your pic. Adjust it to the middle position and see how it performs. Currently it it to the far right and causing a log jam.

#10613 4 years ago

You're also missing the hold down washer for that adjustment

#10615 4 years ago
Quoted from Jigs:

Start with adjusting your habitrail at the slingshot plastic. It can be seen in your pic. Adjust it to the middle position and see how it performs. Currently it it to the far right and causing a log jam.

This was the exact problem I had. I could hear the coil fire to release a ball but the disappearing post got jammed against the wireform. Simple adjustment at the slingshot adjusting it over slightly did the trick!

#10616 4 years ago

So, for the last few years I've been making custom plastics for Getaway along with other games on occasion as people have asked. My process has evolved to where I still have to hand cut the plastic using a pneumatic tool along with sanding which takes a lot of time, breaks a lot of cutting disks, and results in less than perfect curves and edges. Additionally, it is often difficult to hand drill in the exact location as designed, so holes can sometimes be a little off center. I've always done my best on the pieces I sell, but just felt like I could do a little better.

As a result, I recently decided to buy a budget friendly CNC machine. It arrived on Friday, and I immediately put it together and started learning how to cut things on it. The biggest challenge was figuring out what software to use for the various elements and how to convert my plastic shapes originally designed in Photoshop to a format where they can be converted to g-code. That took me a couple of days (Photoshop to Illustrator to DXF to Easel to G-Code), so then I started cutting. I've been trying for the last 3 days, but was yet to produce a successful plastic. After a ton of searching I came across a thread here on Pinside from 4 years ago where a guy posted a video producing a CNC cut plastic. I PM'd him for some pointers, he responded, I took his advice and produced my first successful plastic.

All of that to say that I now have the process down, and moving forward those who purchase any of my mods with plastics (left target bank, center target bank, and 3D mountain mod) will now receive a machine cut part. My decal process remains the same with application to the underside of the plastic.
IMG_3834.JPGIMG_3834.JPGIMG_3835.JPGIMG_3835.JPG

#10617 4 years ago

I love the dirtbag plastic I got from you. Looks stock!

#10618 4 years ago

Okay so after a couple days of playing with combinations I think I’ve come up with the final version of my shift plate, the center hole is large enough for it to clear the stock knob and since the stock plate underneath is black it isn’t very noticeable. Also changed the font so it doesn’t interfere with the carriage bolts.

I ended up going with metallic silver paint instead of the grey PLA as the top layer, I think it mimics metal better.

ADABCF59-1DCD-430C-BEA1-D82E1695979C (resized).jpegADABCF59-1DCD-430C-BEA1-D82E1695979C (resized).jpeg
#10619 4 years ago

I've finally have brown filament again after it has been unavailable for several weeks if anyone is interested in purchasing a mountain mod: https://pinside.com/pinball/market/classifieds/ad/85454

#10620 4 years ago
Quoted from Jigs:

Start with adjusting your habitrail at the slingshot plastic. It can be seen in your pic. Adjust it to the middle position and see how it performs. Currently it it to the far right and causing a log jam.

Could you point me in the right direction for that please? I can try to do this if I know where to do it at.

Thank you everyone for your suggestions.

#10621 3 years ago
Quoted from Ecw0930:

Could you point me in the right direction for that please? I can try to do this if I know where to do it at.
Thank you everyone for your suggestions.

Loosen the nut above the sling holding the wire form in place.
Move the wire form over a little so that its centered, and hold it in place while tightening the nut back down.

#10622 3 years ago
Quoted from Geteos:

Okay so after a couple days of playing with combinations I think I’ve come up with the final version of my shift plate, the center hole is large enough for it to clear the stock knob and since the stock plate underneath is black it isn’t very noticeable. Also changed the font so it doesn’t interfere with the carriage bolts.
I ended up going with metallic silver paint instead of the grey PLA as the top layer, I think it mimics metal better.[quoted image]

Going to have a just the plate option in your store?

#10623 3 years ago

My Getaway recently had coil problem and the game reported a short and then stopped working. Thankfully I had the backbox open at the time. I saw smoke rising up between the sound card and the DMD controller card. I unfortunately did not see where the smoke originated from. After it had quit working , I pulled the Rottendog driver board to inspect the board for components that did not look right and/or burned traces and saw nothing so I reinstalled and started the checks. I also pulled the DMD controller card, which was original and looked well used and brownish in the lower part of the board. I have just replaced it with a replacement for that board. After carefully checking out the machine, I disconnected the playfield and started doing wire and voltage checks. Fuse F115 on the power board was blown and was replaced. The power supply is delivering the correct AC voltages to the driver board. Test points on the DMD controller card all read correct. On the driver board, the +5V (LED 4) and +12VD (LED 1) are not lit when powered. +50 V actually reads +74V.

Any insights into the problem?

#10624 3 years ago
Quoted from MJW:

Going to have a just the plate option in your store?

Yup, I'll be adding it shortly.

#10625 3 years ago

I just got and installed these, love em!
I was so excited to take the pix I didnt realize the left flipper is a little off, I fixed it after I took the pix.
before:
BEFORE1 (resized).jpgBEFORE1 (resized).jpg
installed:
AFTER1 (resized).jpgAFTER1 (resized).jpg
and installed and on:
AFTER2 (resized).jpgAFTER2 (resized).jpg

#10626 3 years ago
Quoted from Coyohtay:

My Getaway recently had coil problem and the game reported a short and then stopped working. Thankfully I had the backbox open at the time. I saw smoke rising up between the sound card and the DMD controller card. I unfortunately did not see where the smoke originated from. After it had quit working , I pulled the Rottendog driver board to inspect the board for components that did not look right and/or burned traces and saw nothing so I reinstalled and started the checks. I also pulled the DMD controller card, which was original and looked well used and brownish in the lower part of the board. I have just replaced it with a replacement for that board. After carefully checking out the machine, I disconnected the playfield and started doing wire and voltage checks. Fuse F115 on the power board was blown and was replaced. The power supply is delivering the correct AC voltages to the driver board. Test points on the DMD controller card all read correct. On the driver board, the +5V (LED 4) and +12VD (LED 1) are not lit when powered. +50 V actually reads +74V.

Any insights into the problem?

Start a separate thread on the main forum under tech help and you should get a response pretty quickly.

#10627 3 years ago

I am wanting to display a message on my pin, but following the instructions I'm not able to make it work. Any suggestion?

"U.5 Custom Message Note: Set Al 20 to ON before trying to write a Custom Message. Press the Enter button to begin entry of the custom message. Use the Up or Down button to rotate letters. Use the Start button to rotate punctuation marks. (if desired). Press the Enter button to lock in the desired letter and punctuation. If you make a mistake. use Up and Down to select the "back-arrow" character. The "back-arrow" character is located before the space character and after the number nine. Press Enter while the back-arrow shows to erase the previously entered character. Once your message is complete. press and hold the Enter button until "Message Stored" is displayed. Press the Escape button to cancel the new message. The message "Press Enter to Reset" appears. If you press Enter. the custom message is cleared and no message is displayed. If you press Escape the original message remains intact"

#10628 3 years ago

Never mind, I guess that I need to learn patience

#10629 3 years ago
Quoted from Brewchap:

Never mind, I guess that I need to learn patience

That's for sure. I put custom messages on all my pins, but is quite the pain.

#10630 3 years ago
Quoted from Mr_Tantrum:

That's for sure. I put custom messages on all my pins, but is quite the pain.

Agreed and for me it wasn't wroth the effort unless you sit and wait for it to scroll to the message... I did it once and forgot to replace my batteries before I installed NVRAM

#10631 3 years ago
Quoted from tiltmonster:

Agreed and for me it wasn't wroth the effort unless you sit and wait for it to scroll to the message... I did it once and forgot to replace my batteries before I installed NVRAM

I like to put fun messages about my son. Jurassic Park is his favorite, “T-REX THINKS ZANE TASTES LIKE CHICKEN”

#10632 3 years ago

How difficult is it to install the start game key mod? Is it pretty start forward?

Thanks In Advance,
Pete

#10633 3 years ago
Quoted from peteyhugs:

How difficult is it to install the start game key mod? Is it pretty start forward?
Thanks In Advance,
Pete

Very simple to install, but unless you REALLY tighten up on the lock nut the whole mechanism it will want to turn if someone aggressively turns the key to start the game. Fun for home use only.

#10634 3 years ago
Quoted from peteyhugs:

How difficult is it to install the start game key mod? Is it pretty start forward?
Thanks In Advance,
Pete

I have one that I’m not using with instructions if you’re interested .

#10635 3 years ago

I downloaded a set of instructions cards from pinballcards.com, I can't seem to get them to print out in the correct size. Any tricks/tips on how to do so.

Thank You,
Pete

#10636 3 years ago
Quoted from peteyhugs:

I downloaded a set of instructions cards from pinballcards.com, I can't seem to get them to print out in the correct size. Any tricks/tips on how to do so.
Thank You,
Pete

Make sure that the rescale to fit it uncheck, should be no rescaling.

#10637 3 years ago
Quoted from Kawydud:

Make sure that the rescale to fit it uncheck, should be no rescaling.

No Luck, not seeing any scale to fit.

#10638 3 years ago
Quoted from peteyhugs:

No Luck, not seeing any scale to fit.

Of course you could just buy a high quality set from me for $10 and be done with it: http://thezumwaltfamily.com/getawaypinball

#10639 3 years ago

I got my cards from him, they are perfect.

#10640 3 years ago

Referenced by me back on Post #6638, I got the double video mode bug once again tonight.

Now that all my games play perfectly, I am determined to get the double video mode captured on video to finally determine if it awards the player points twice.

#10641 3 years ago

Hi everyone ... I'm back
(Was a little bit busy with other stuff lately....)

I'm currently working on a new Version of my Donut Heaven Mod...
This time with a different approach to the illuminated sign on the roof.
There is a long hole in it to be used with an led stripe...

I did not print this so far, but I hope to have better readability from the players Point of view and a better illumination of the letters.

And I did a few other modifications to for a better fit of all parts....see photos....

As soon as I#m ready I will upload everything to thingiverse.....

2020-05-12 20_49_39-Window (resized).png2020-05-12 20_49_39-Window (resized).png2020-05-12 20_49_50-Window (resized).png2020-05-12 20_49_50-Window (resized).png2020-05-12 20_50_03-Window (resized).png2020-05-12 20_50_03-Window (resized).png2020-05-12 20_50_55-Window (resized).png2020-05-12 20_50_55-Window (resized).pngDonutHeavenNew01 (resized).jpgDonutHeavenNew01 (resized).jpgDonutHeavenNew02 (resized).jpgDonutHeavenNew02 (resized).jpgDonutHeavenNew03 (resized).jpgDonutHeavenNew03 (resized).jpgDonutHeavenNew04 (resized).jpgDonutHeavenNew04 (resized).jpgDonutHeavenNew05 (resized).jpgDonutHeavenNew05 (resized).jpg
#10642 3 years ago
Quoted from OlliG:

Hi everyone ... I'm back
(Was a little bit busy with other stuff lately....)
I'm currently working on a new Version of my Donut Heaven Mod...
This time with a different approach to the illuminated sign on the roof.
There is a long hole in it to be used with an led stripe...
I did not print this so far, but I hope to have better readability from the players Point of view and a better illumination of the letters.
And I did a few other modifications to for a better fit of all parts....see photos....
As soon as I#m ready I will upload everything to thingiverse.....[quoted image][quoted image][quoted image][quoted image][quoted image][quoted image][quoted image][quoted image][quoted image]

Could you put some cop silhouettes in the windows? That would look cool

#10643 3 years ago

Quick question: I have a problem with the diverter at the top of the loop. What triggers that diverter to open and close? Mine seems to be working off/on right now.

#10644 3 years ago

Done.. You find my new Donut Heaven printing Files here

https://www.thingiverse.com/thing:4366012

DonutHeavenNew07 (resized).jpgDonutHeavenNew07 (resized).jpgDonutHeavenNew08 (resized).jpgDonutHeavenNew08 (resized).jpgDonutHeavenNew09 (resized).jpgDonutHeavenNew09 (resized).jpgDonutHeavenNew10 (resized).jpgDonutHeavenNew10 (resized).jpg
#10645 3 years ago
Quoted from pacman11:

Quick question: I have a problem with the diverter at the top of the loop. What triggers that diverter to open and close? Mine seems to be working off/on right now.

I was thinking the front opt switch triggered the diverter at the top of the Playfield and my opt switch was bad so I replaced the transmitter which fixed the opt but the problem still is there the diverter. For some reason the diverter should stay on and it go off then back on then off, etc..

#10646 3 years ago
Quoted from pacman11:

I was thinking the front opt switch triggered the diverter at the top of the Playfield and my opt switch was bad so I replaced the transmitter which fixed the opt but the problem still is there the diverter. For some reason the diverter should stay on and it go off then back on then off, etc..

If it's not staying on when it should - check for loose wires or windings at the coil.

Check EOS switch. This is probably the issue.

#10647 3 years ago
Quoted from pkrobin:

If it's not staying on when it should - check for loose wires or windings at the coil.
Check EOS switch. This is probably the issue.

I put a new coil on it so I know the wires are solid. Where’s the EOS switch that you are talking about?

#10649 3 years ago
Quoted from pacman11:

I put a new coil on it so I know the wires are solid. Where’s the EOS switch that you are talking about?

EOS - "End Of Stroke". But I looked at a photo and it doesn't seem to have one. Or its a bad pic I guess.

So it might just be software controlled.

I remember now that there is a Diverter Hi and a Diverter Low test in the diagnostics (Coil tests) menu so try that and make sure both activate ok. The Low power is harder to notice because its designed to hold the diverter open and it won't do much in the normal position - you might hear a hum plus very subtle movement in the diverter would be normal.

If possible, might need a helper, you want to open the diverter with the HI coil and hold it there with your fingers while activating the LOW test and see if it remains open on its own when you let go of it. That would be what you expect.

#10650 3 years ago
Quoted from pkrobin:

EOS - "End Of Stroke". But I looked at a photo and it doesn't seem to have one. Or its a bad pic I guess.
So it might just be software controlled.
I remember now that there is a Diverter Hi and a Diverter Low test in the diagnostics (Coil tests) menu so try that and make sure both activate ok. The Low power is harder to notice because its designed to hold the diverter open and it won't do much in the normal position - you might hear a hum plus very subtle movement in the diverter would be normal.
If possible, might need a helper, you want to open the diverter with the HI coil and hold it there with your fingers while activating the LOW test and see if it remains open on its own when you let go of it. That would be what you expect.

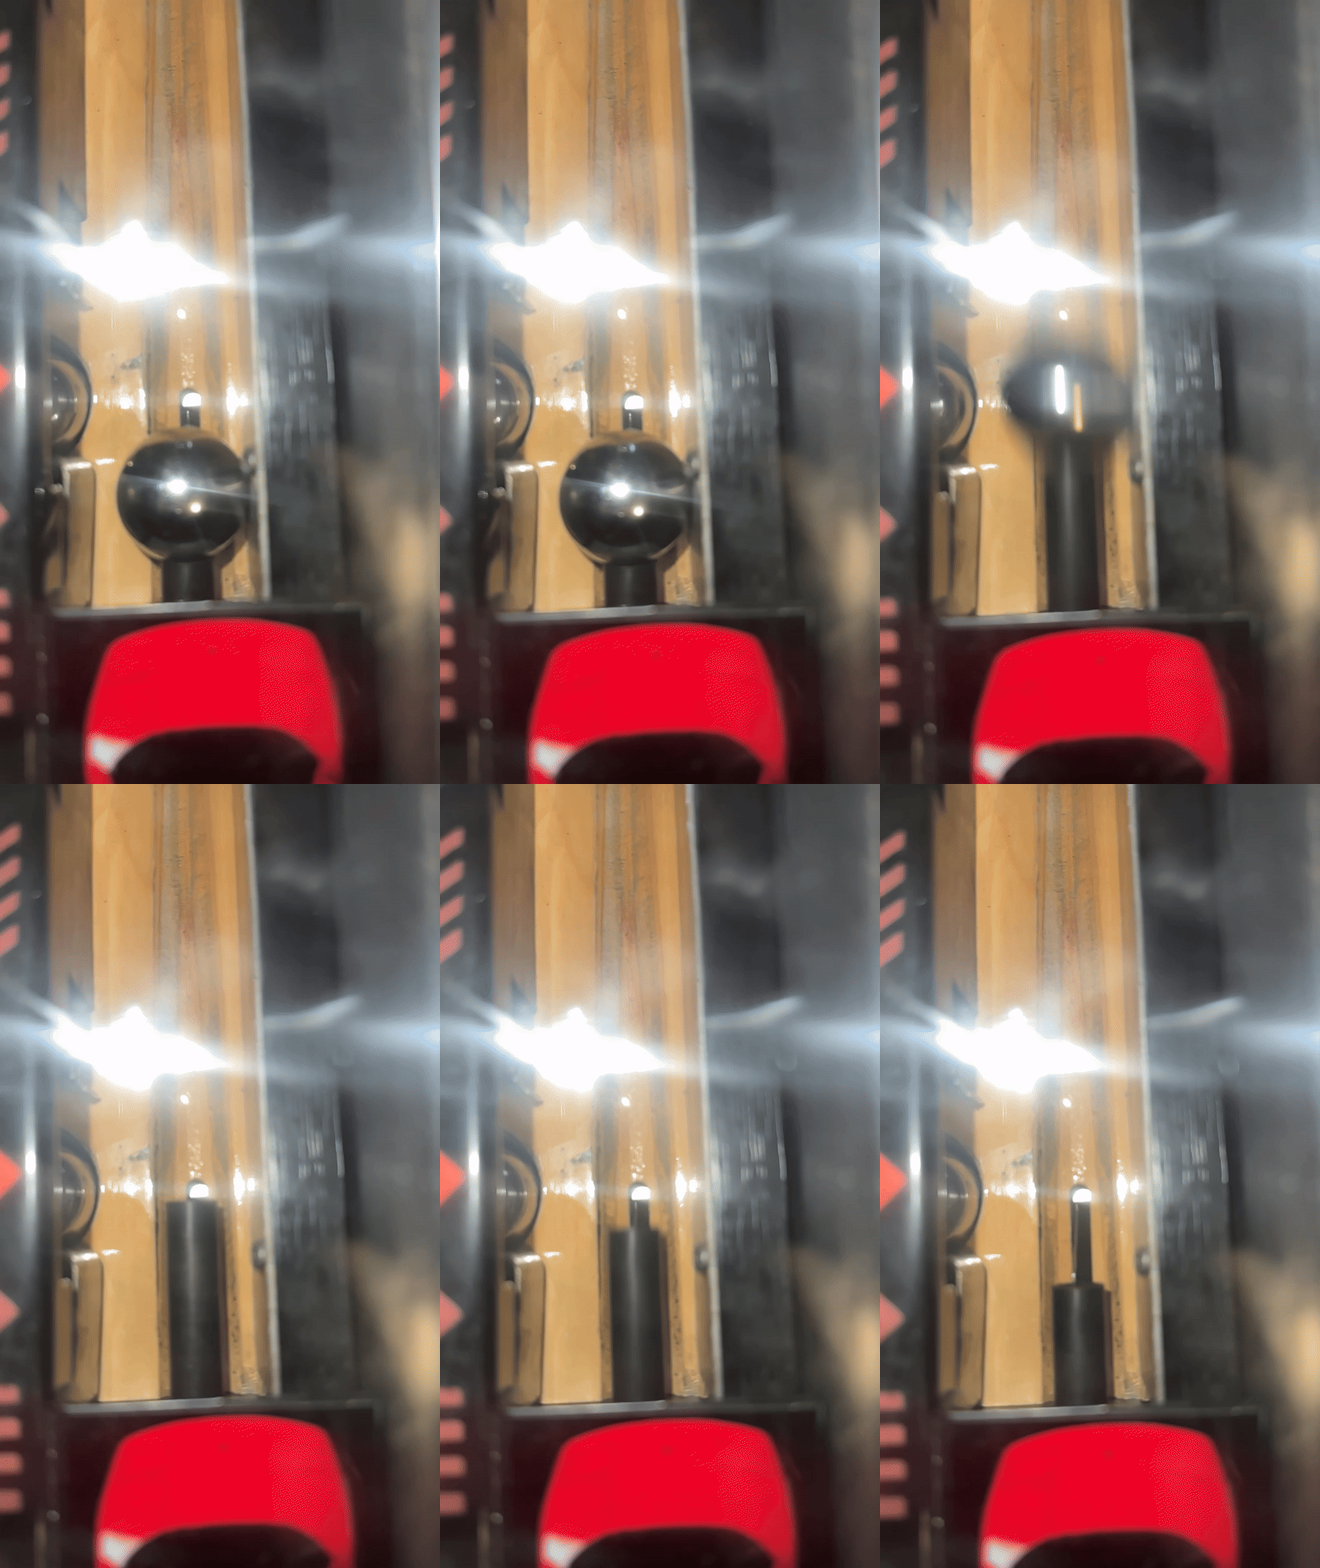
Okay thanks in test mode diverter high activates but I don’t see diverter low. I’ll look under the playfield but it sounds like that’s my problem. If diverter low holds the the diverter high open then which is exactly what mine is doing. Diverter high doesn’t stay open to allow the ball to hit the supercharger area..

Promoted items from Pinside Marketplace and Pinside Shops!
From: $ 159.95
Cabinet - Sound/Speakers
PinSound
 
$ 30.00
Playfield - Toys/Add-ons
G-Money Mods
 
$ 9.95
Eproms
Pinballrom
 
$ 9.95
Eproms
Pinballrom
 
$ 15.00
Playfield - Decals
Metal-Mods
 
$ 70.00
Playfield - Toys/Add-ons
RobTune
 
From: $ 100.00
Playfield - Toys/Add-ons
G-Money Mods
 
6,300 (OBO)
Machine - For Sale
Newtown, CT
$ 35.00
Playfield - Toys/Add-ons
G-Money Mods
 
$ 16.50
Lighting - Led
Lermods
 
4,450
Machine - For Sale
Surfside Beach, SC
$ 20.00
5,650 (OBO)
Machine - For Sale
Fontana, CA
$ 65.00
Playfield - Toys/Add-ons
G-Money Mods
 
Wanted
Machine - Wanted
Newcastle, OK
From: $ 15.00
Cabinet - Other
NO GOUGE PINBALL™
 
From: $ 3.50
Playfield - Other
Rocket City Pinball
 
$ 69.00
Gameroom - Decorations
Pinball Pimp
 
$ 20.00
Cabinet - Decals
Pinball Haus
 
$ 19.00
Electronics
NO GOUGE PINBALL™
 
$ 109.99
Lighting - Led
Lighted Pinball Mods
 
$ 17.99
Eproms
Matt's Basement Arcade
 
$ 19.00
Boards
Tilted Pinball
 
$ 85.00
Cabinet - Other
Pinball Haus
 
$ 15.00
Playfield - Plastics
Pinball Haus
 
$ 22.50
Playfield - Decals
Pinball Haus
 
$ 225.00
Lighting - Interactive
Professor Pinball
 
Hey modders!
Your shop name here
There are 13,819 posts in this topic. You are on page 213 of 277.

Reply

Wanna join the discussion? Please sign in to reply to this topic.

Hey there! Welcome to Pinside!

Donate to Pinside

Great to see you're enjoying Pinside! Did you know Pinside is able to run without any 3rd-party banners or ads, thanks to the support from our visitors? Please consider a donation to Pinside and get anext to your username to show for it! Or better yet, subscribe to Pinside+!


This page was printed from https://pinside.com/pinball/forum/topic/getaway-club-dispatch-run-a-make-on-license-plate-kingpin/page/213 and we tried optimising it for printing. Some page elements may have been deliberately hidden.

Scan the QR code on the left to jump to the URL this document was printed from.