After wrapping up development of Poker (https://pinside.com/pinball/forum/topic/pinball-poker-poker-time-undecided-poker-themed-homebrew), I began the planning phase for my next homebrew, and am now starting with some actual development.
Originally my plan was to attempt to make a more complex, modern game with ramps, habitrails, toys, etc, but as I finished up Poker (and attempted to maintain it afterwards), many of the issues I encountered convinced me that I shouldn't dive straight into something so complex without getting the 'basics' down more, so I decided to try to make a cocktail first, since it'd have to end up being a simpler game due to the space constraints. I also feel like cocktails are a good area to explore, as there haven't been any made in a long time, and none follow more modern design sensibilities.
To start, I acquired a parts machine, originally a Roy Clark The Entertainer, to use as a cabinet. pasted_image (resized).png
One of the big issues I ran into with Poker was with the CAD. I originally designed the playfield in CAD, but then cut it from plywood by hand, and had to make numerous modifications as I went. My original CAD ended up out of sync with my physical playfield, and caused all kinds of problems. This time, I want to get the playfield CNC cut directly from the CAD, and also model everything in more detail from the start to try and avoid other issues down the line, so I started by modeling both a simple playfield and cabinetpasted_image (resized).png
pasted_image (resized).png
When designing, especially in a situation where the playfield will be CNC cut and I want to do everything in as few iterations as possible, I try to identify any potential risks as early as possible, and prototype them out first. Since I want to have a more modern game style, but can't have ramps due to the size of the cabinet, I decided I'd like to have a subway, with exits that feed the flippers, instead. This will also be good practice at both constructing subways in general, as well as with more custom mechanisms/etc. Sadly, I immediately discovered an issue thanks to the CAD modeling: pasted_image (resized).png
That's the plunger for the VUK, sticking out the bottom of the cabinet. VUKs in general are already pretty tall, and it only gets worse when you need to also have a subway feeding them, and that subway needs to clear other mechs on the bottom of the playfield. The entire cabinet is only 9" deep, and even after trying to squash a typical mech down as much as possible, it was still 7". Then I realized that the original playfield mounting brackets only put the playfield at 3.5 degrees, not the 6.5-7 that a newer game would have, which constrained the area under the playfield I had to work with down to only 4"!
So now I've designed a new mech, which isn't like any VUK I've seen before, where the coil and plunger are mounted adjacent to the ball instead of below it:pasted_image (resized).png
I'm not sure if there's a reason why this style of design is never used or not. The closest I can think of are bally linear slingshots. I've heard a lot of bad things about bally's linear flippers, but not much about the slingshots, so maybe they're fine? I assume the disadvantage of this approach is that the force on the plunger won't just be along its axis, but will also be twisted somewhat to the side, but I'm not sure how much that'll matter. Most of the mechanism is designed to be 3D printed, but the coil bracket and plunger will still have to be metal. Hopefully having a metal bracket screwed to the plastic body will be enough to hold it together.
Since this is a custom bracket, I don't really have any easy way to get it made, so I end up having to use a thinner sheet of steel than is common on pinball machines, and bend it using my harbor freight hand metal brake. This doesn't produce perfect 90 degree angles, and it's hard to get the bends exactly int he locations you want, but at least they come out nice and cleanpasted_image (resized).png
I was unable to find a source of plunger material locally, so I ended up using a 7/16" bolt that was long enough that the threads left a smooth part that fit my needs, and then I ran a 1/4" bolt through it sideways to connect it to the platform the ball rests on. I'll need to clean it up a bunch, and maybe consider tapping a smaller hole vs just running the bolt through, but I think it should be sufficient for a proof of concept. pasted_image (resized).png
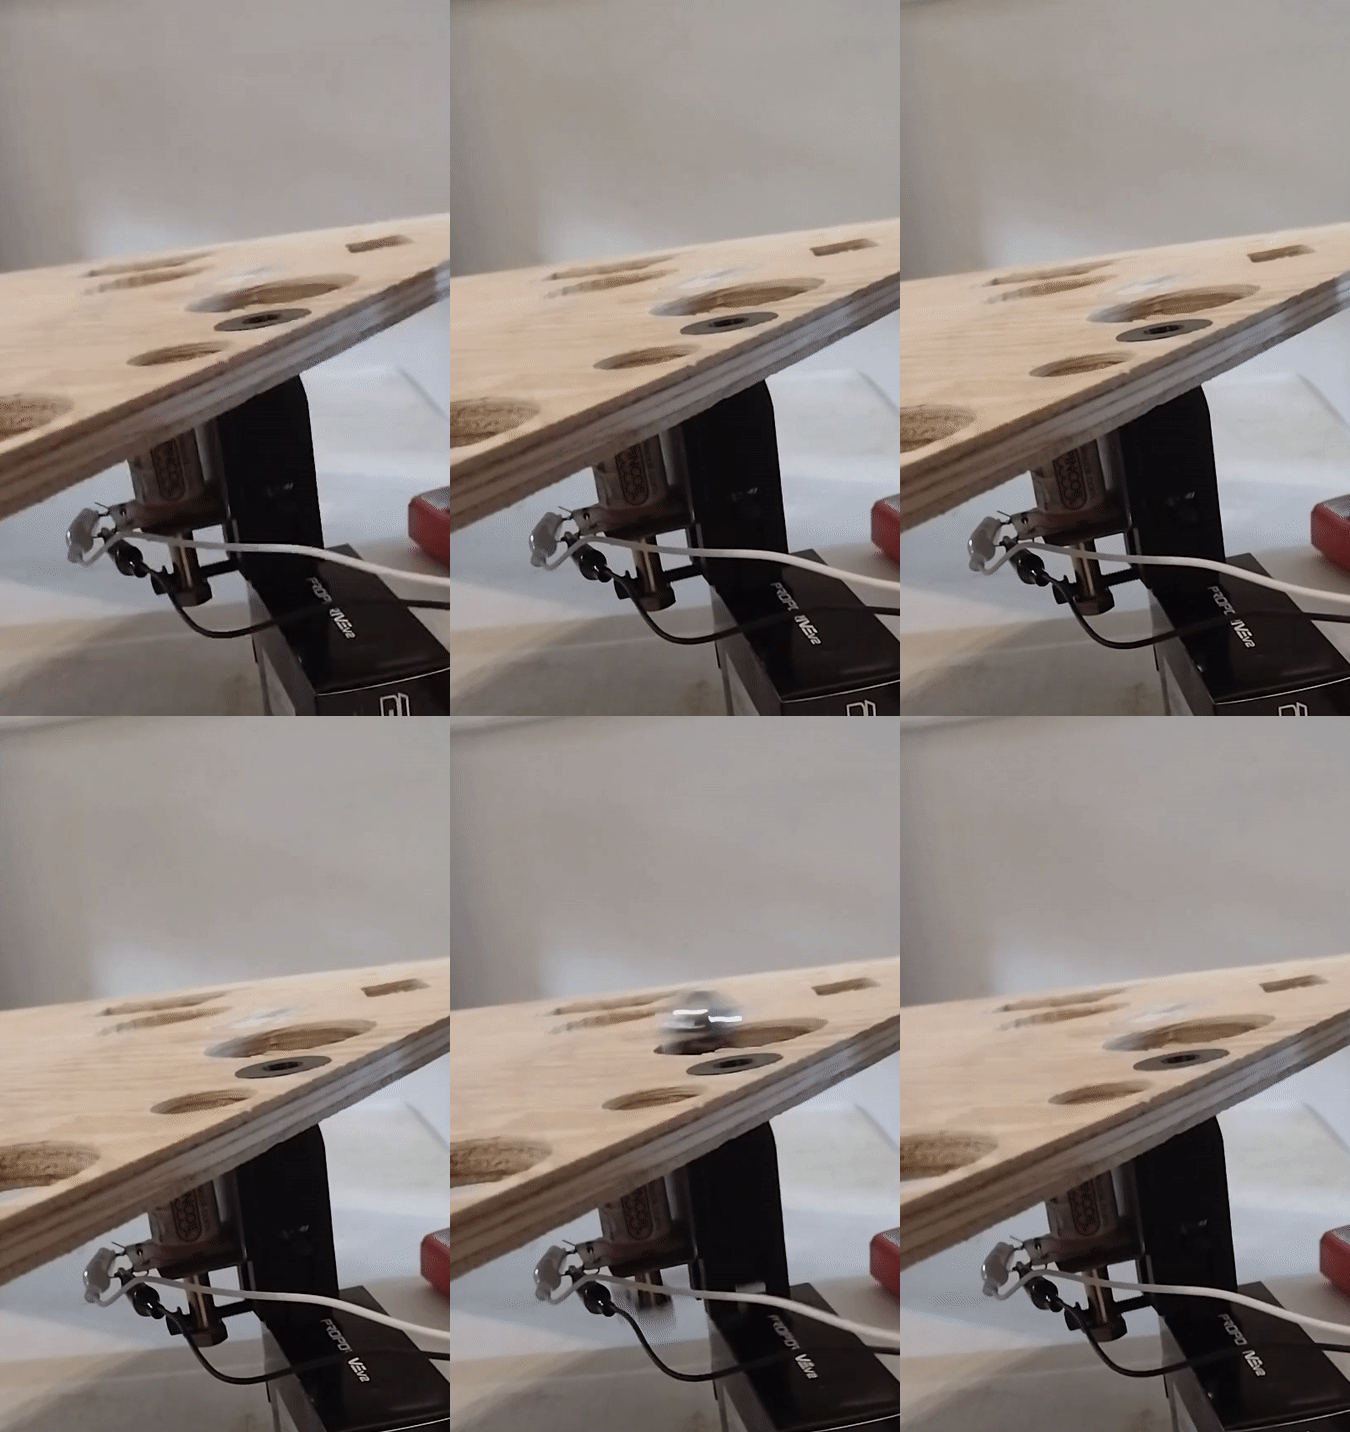
My first attempt doesn't go too well. The ball barely makes it out of the VUK, not even fully clearing the playfield:
 ezgif-2-2112bef05a.gif
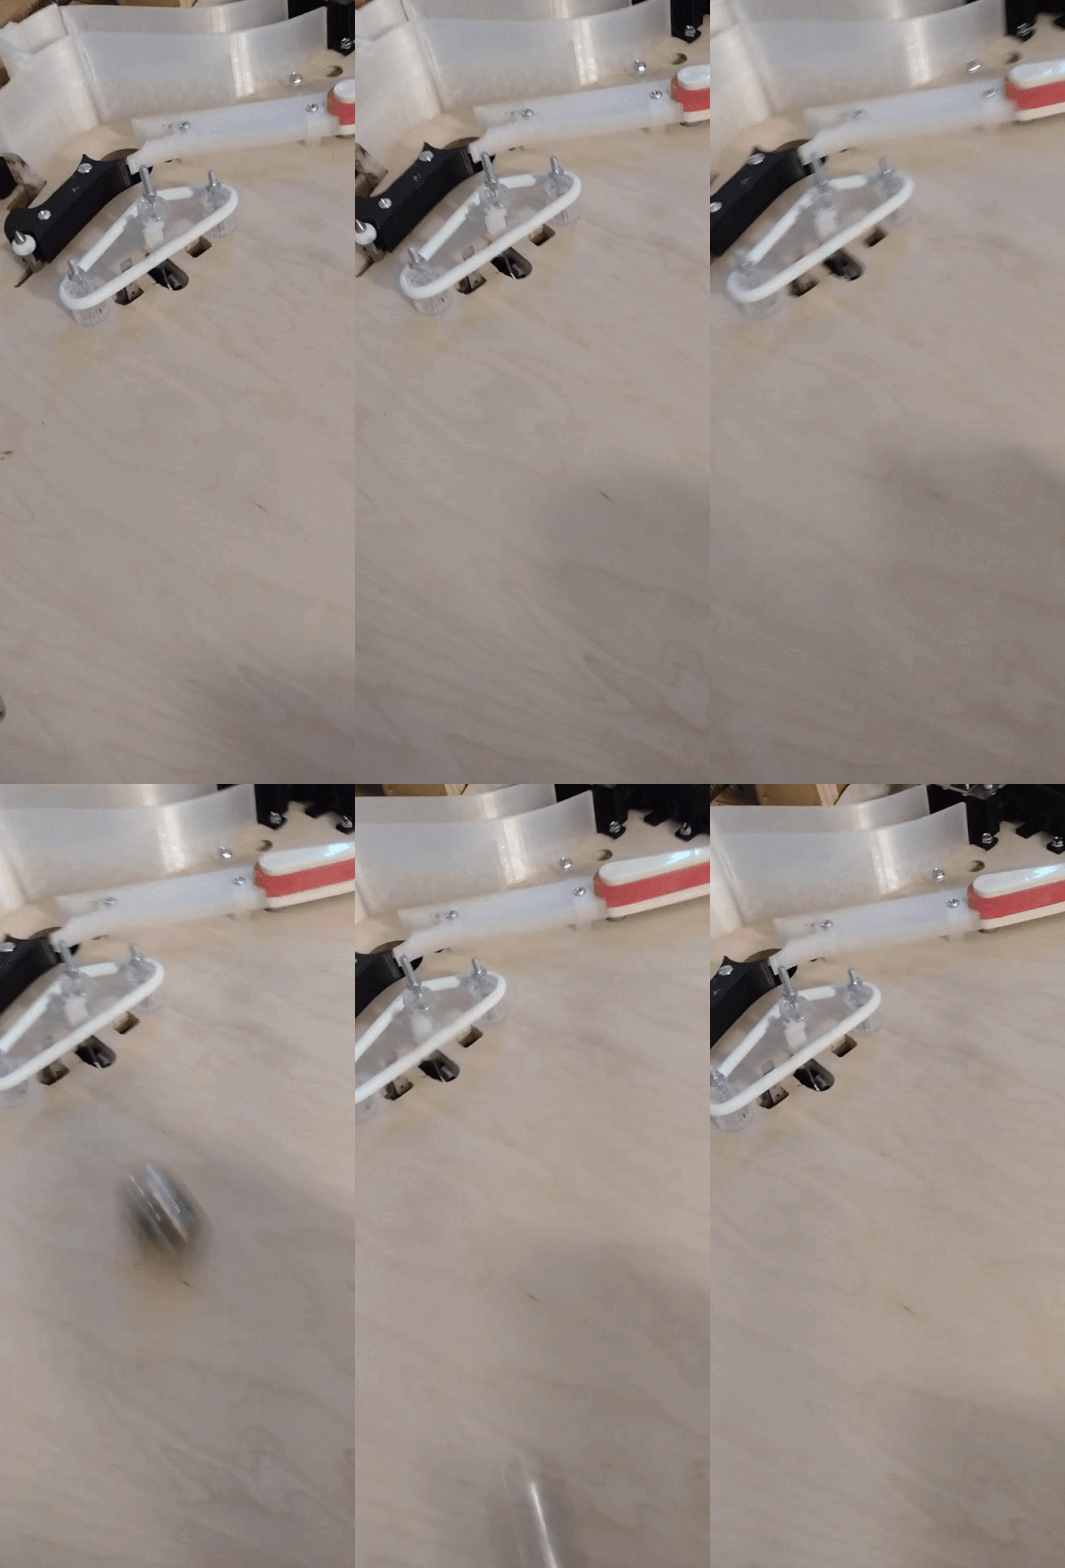
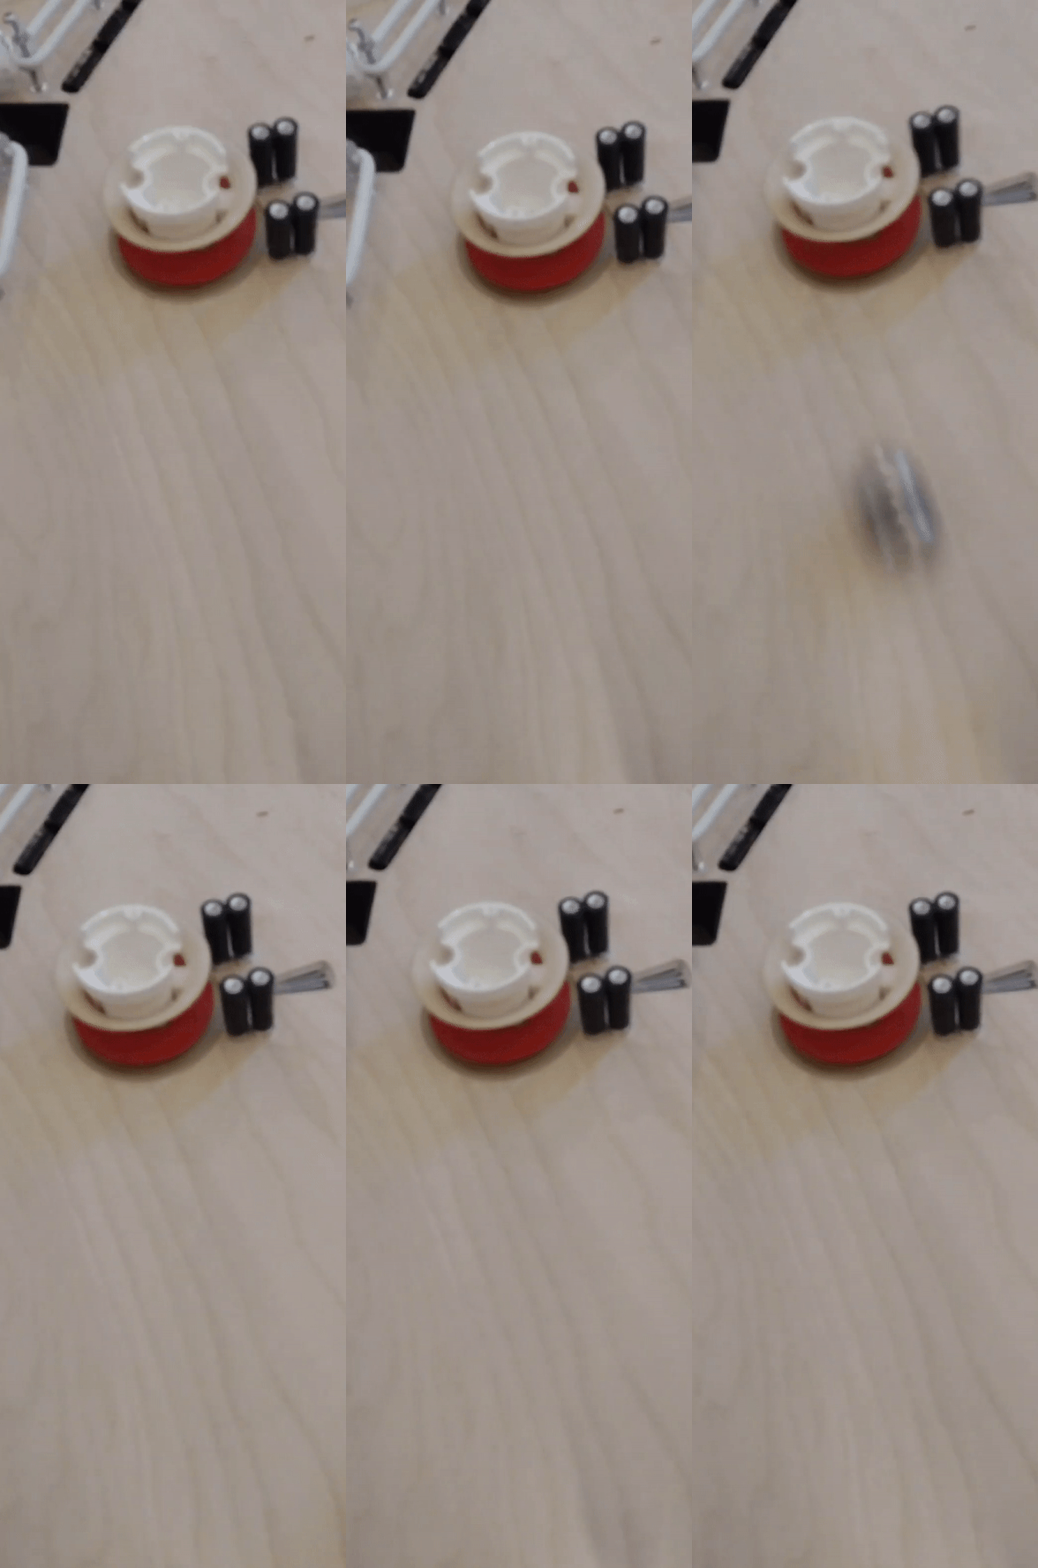
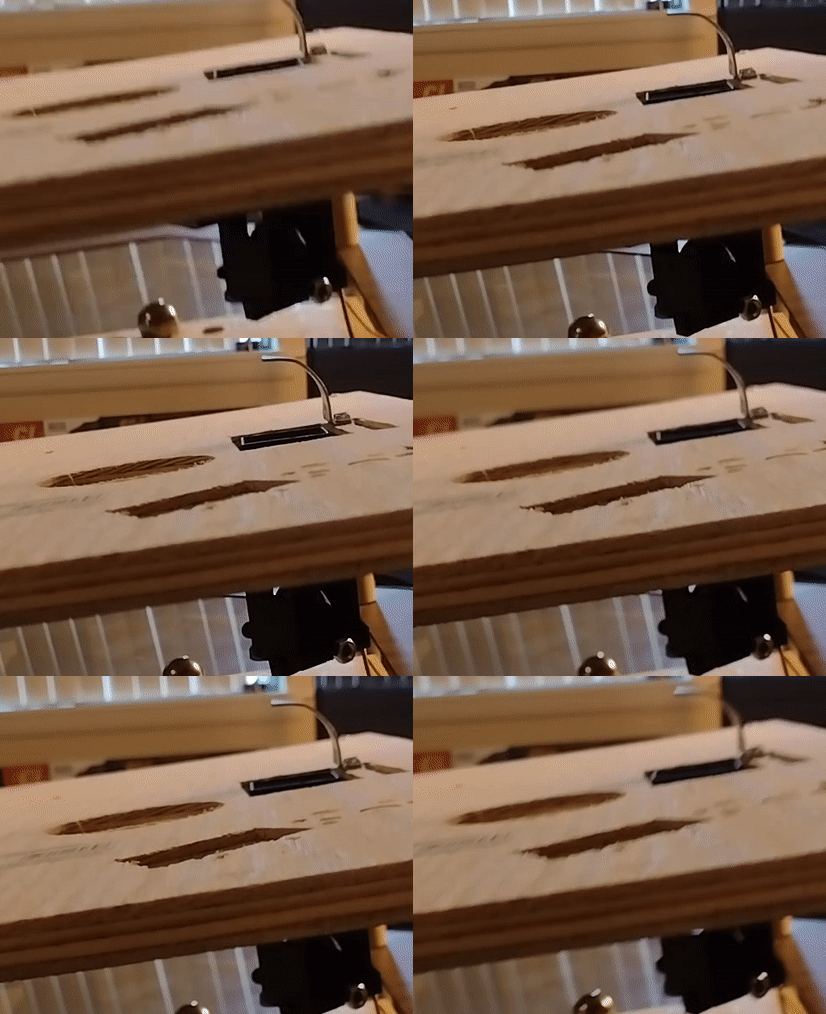
But then realize I'm using the wrong coil, and swap to a 23-800, which is what sterns use in their VUKs, and it goes much better:
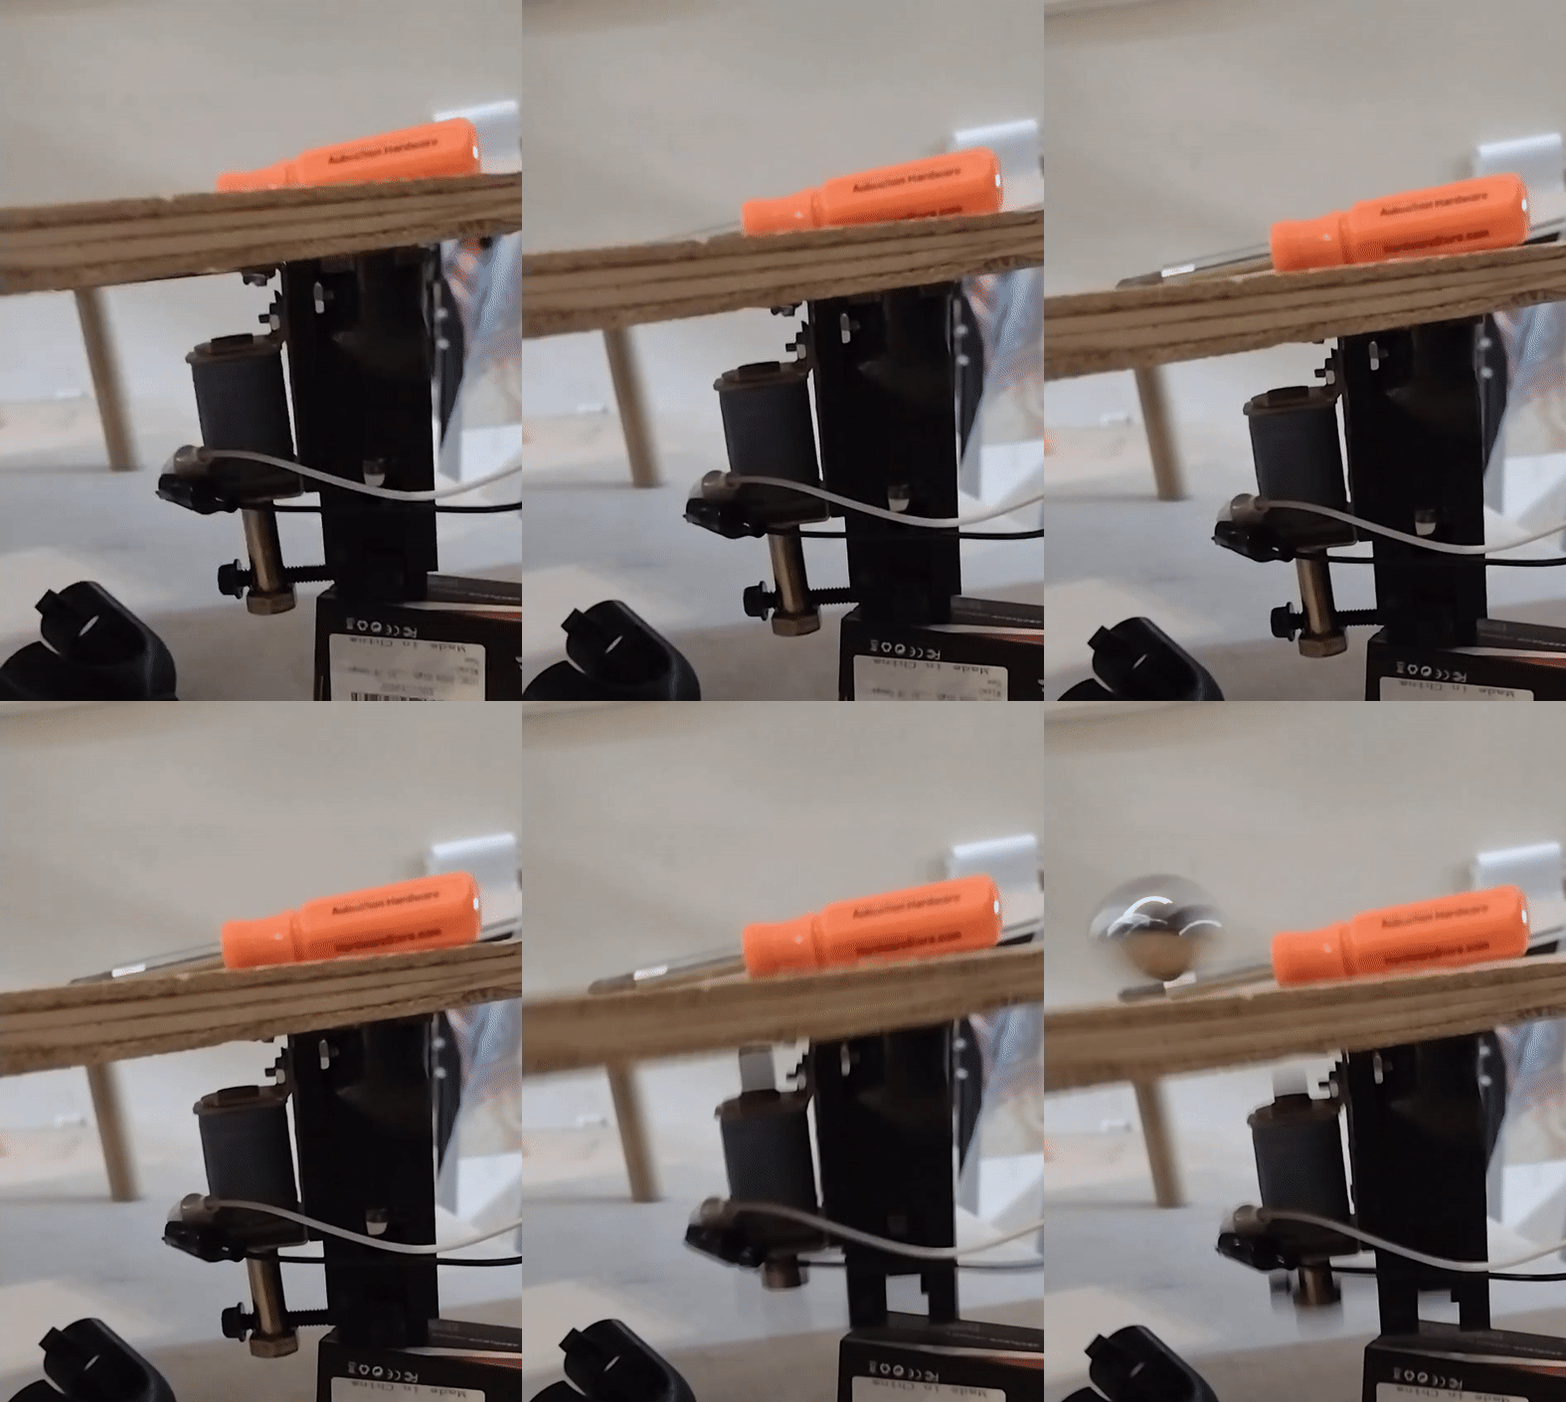 ezgif-2-3ce7524772.gif
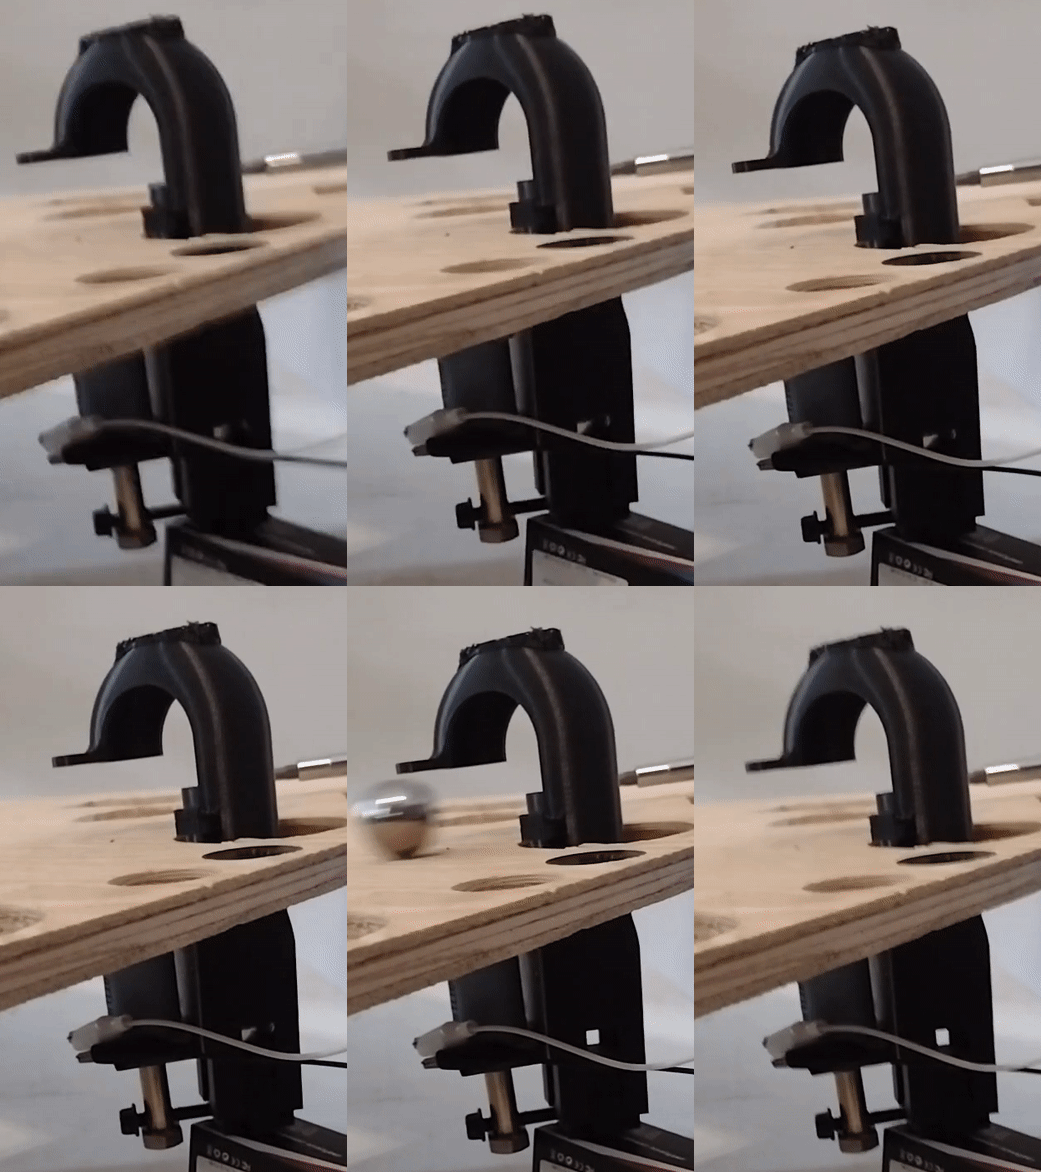
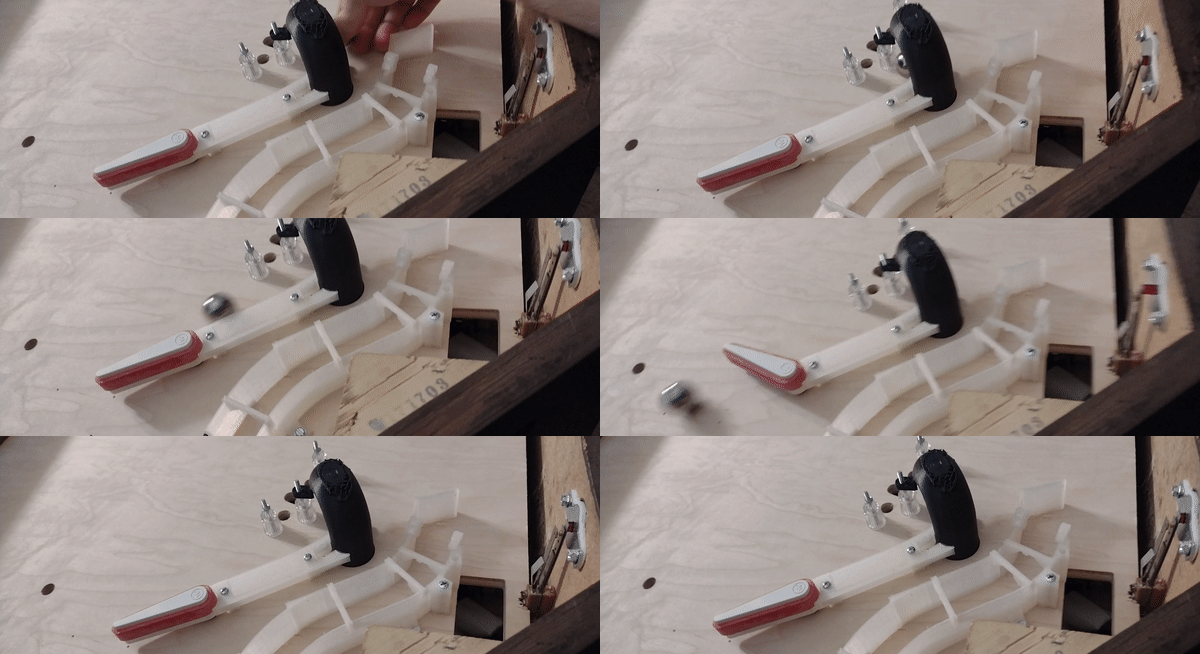
The VUK is supposed to feed the inlane, so I also make a quick 3D printed part to direct the ball cleanly. I suspect that this part won't hold up long 3D printed, but hopefully it'll at least last a while. I can always try to reinforce it with metal later, or get adventurous and attempt to make a fully metal habitrail for it. But, even if the part breaks every 500 plays, for a homebrew I wouldn't mind just keeping a spare on hand.
I'm pretty satisfied with this as a proof of concept, so I'll leave more testing and final touches to after I get the playfield assembled, and move on to testing other components


 Rochester, NY
 Sarnia, ON
 Reichenau Im Mühlkreis
 Clermont-ferrand

