
 Manchester, MI
My son and I finished off the taping and masking of the cabinet today, and managed to prime the backbox. Here's my son reaching into the cabinet. We learned that the Harbor Freight lift table is also useful for raising the height of a helper so he can reach the inside of the cabinet:
Here's what I learned priming my backbox today:
I chose a Neiko 2.0mm HVLP spray gun. The gun's specs are about 4.5cfm for nominal operation at 40psi. The compressor I have is a pancake compressor that does about 3.5cfm at 40psi. This is not ideal. Don't do this. I think for the cabinet I'll rent a larger compressor.
The nozzle size was fine spraying Kilz Original, but I had to thin it about 20% with thinner. I honestly don't think this matters much, though spraying this took a really long time (partially because I had to keep waiting for my compressor to catch up).
Here's the final product, after three hyper thin coats of Kilz:
My poor man's spray booth was not adequately ventilated. I had a good respirator but really folks, don't do this, get proper ventilation if you're going to use a HVLP gun, it gets everywhere. I looked at myself in the mirror after and thought I aged, and realized that a fine mist of white Kilz was in my hair. I guess I should have worn hair protection!
As far as the finish is concerned, it's hard to say if it's orange peel or just my inconsistent sanding, but I think it looks pretty good. I experimented using Kilz from a spray rattle can for part of it and there is no question the atomization of the HVLP gun was superior to the rattle can. The trouble is that you can't get the HVLP gun into small areas, so using both isn't crazy if you're careful with the rattle can.
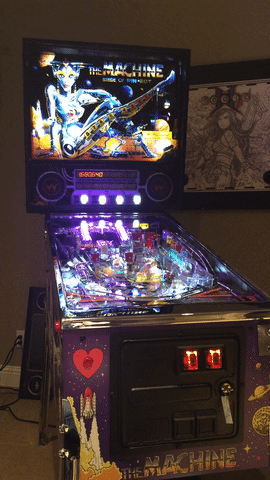
Anyway, next stop...priming the cabinet, and matching the purple decal color at a paint store.
 Beauharnois

