 North Port, FL
Quoted from Mr_Tantrum:Has anyone done any custom coin reject inserts for this game yet? That will definitely be something on my "to do" list as I don't like the generic ones that come with the game. They look like someone is turning up the volume to me instead of inserting a coin. Seriously, who holds a coin like that when they are about to insert it into a game? Also, looks like a woman's hand with well manicured fingernails. Not that I have anything against women, but just not representative of the vast majority of middle-aged men pinball enthusiasts of whom I imagine mostly have unkept nails (I've seen enough of my share of close-up pics and vids on Pinside to be highly confident in my assertion).
I'd probably go with Martian heads (either b&w outline or maybe even a color image would work with these).
[quoted image]
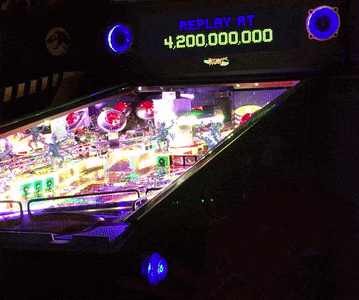
My coin inserts are custom and very similar to what was posted above
 C9351845-5842-4017-BA8E-3B5292EBEC14 (resized).jpeg
 Orillia, ON

